¿Cómo funcionan las tablas de edad?
Escrito originalmente en inglés, cualquier error de traducción debe compararse con el artículo original.
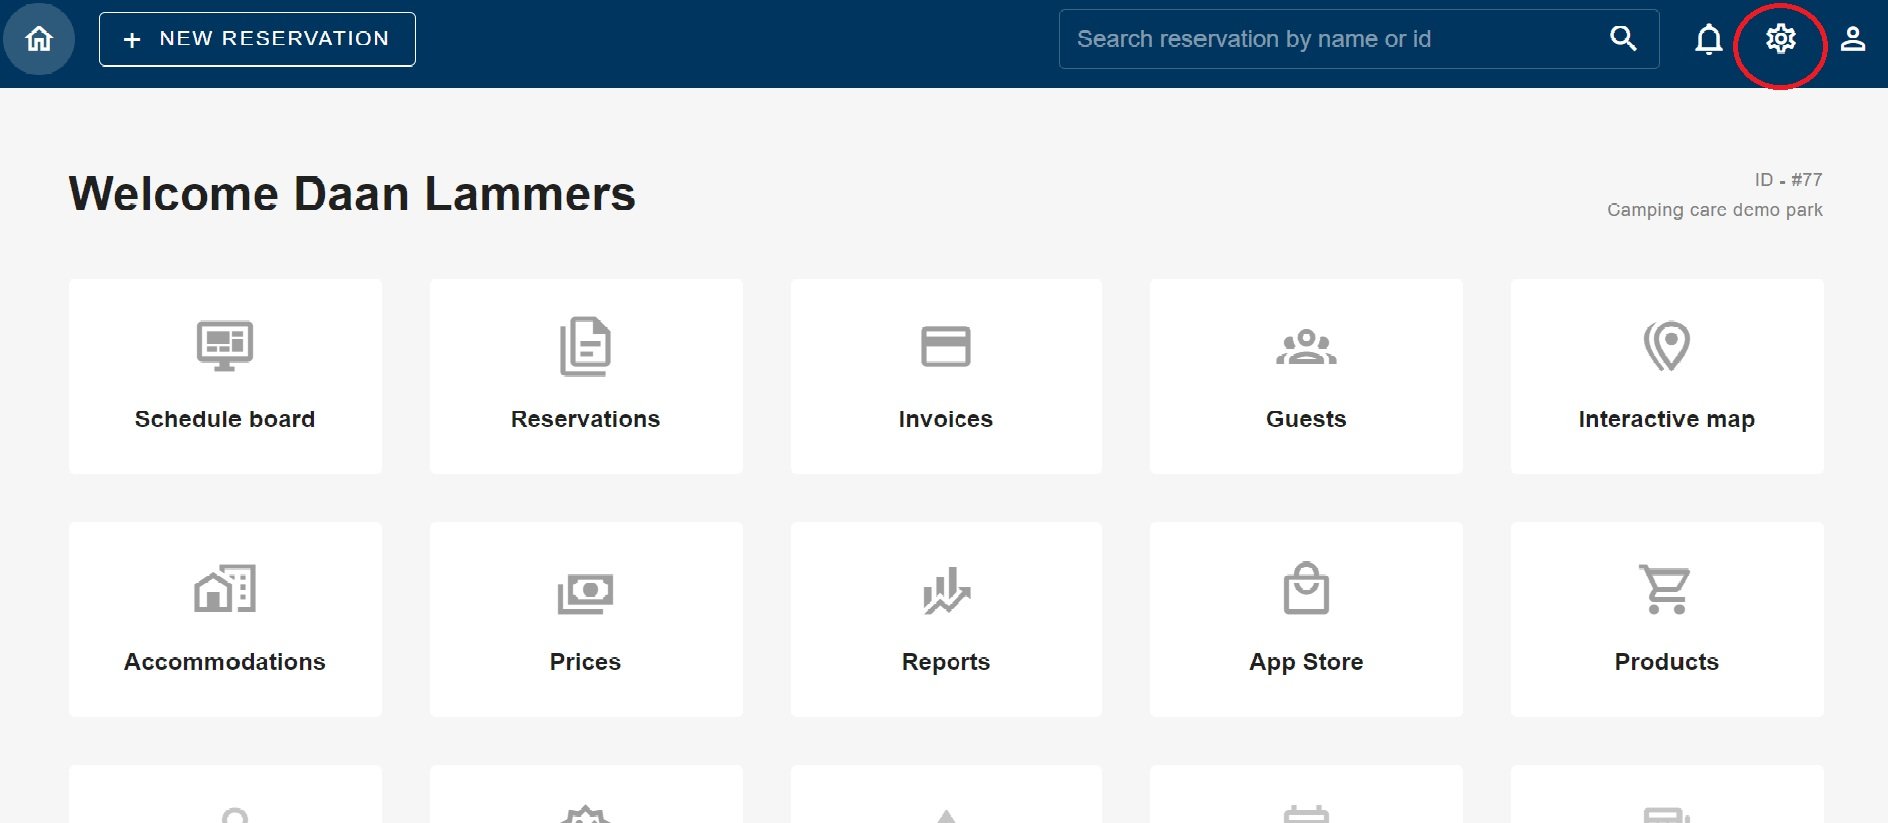
Cuando inicias sesión en Camping.care, puedes presionar el engranaje de configuración en la parte superior derecha. Como está rodeado en rojo en la imagen de arriba.

Luego, debajo del cuadro de invitados, verás las tablas de edades. En la imagen de arriba, está rodeado de rojo.
 Ahora has llegado a las tablas de edades. ¿Pero para qué sirven las tablas de edades?
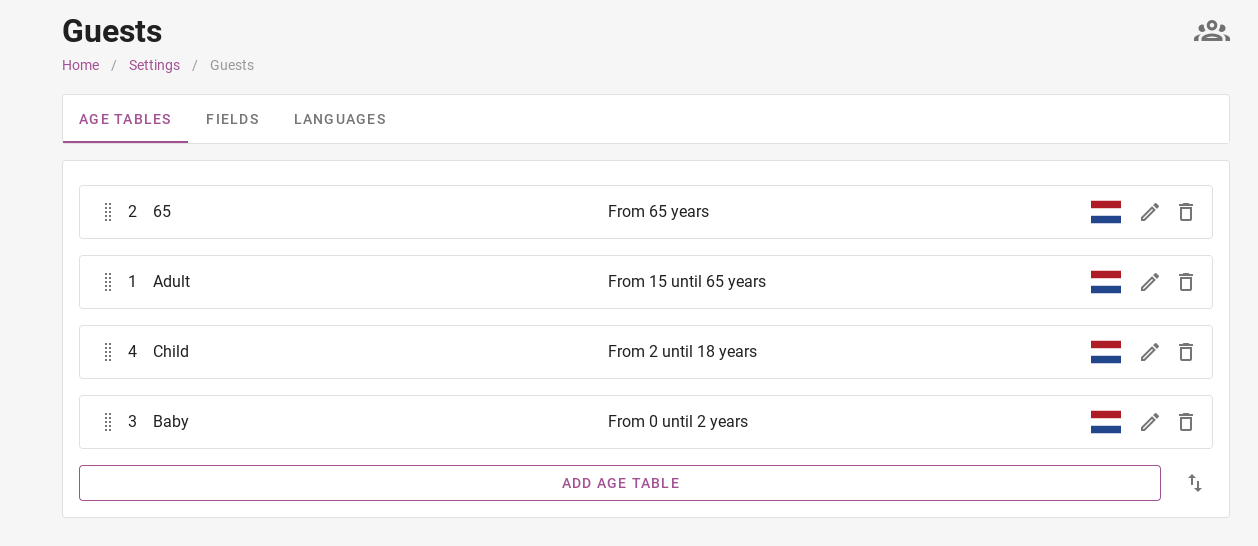
Las tablas de edad se pueden utilizar para calcular diferentes precios según la persona. También se puede utilizar para calcular la tasa turística. Una tarifa nocturna para un niño puede ser más barata que la tarifa nocturna para un adulto. Entonces puedes usar tablas de edad para diferenciarlos. En la imagen superior podéis ver que se ha hecho una distinción entre bebés, niños, adultos y mayores de 65 años.
 La imagen de arriba muestra que se puede dar prioridad a determinadas edades. En la imagen se puede ver que se ha dado prioridad a los adultos. Si determinado alojamiento incluye 2 personas en el precio, el sistema seleccionará automáticamente 2 adultos.
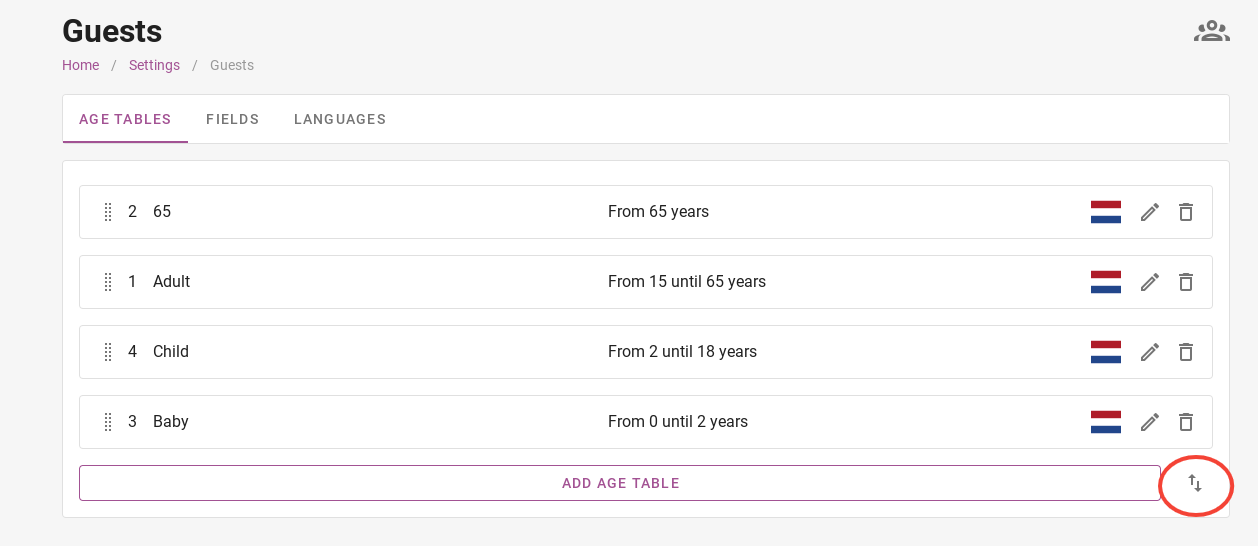
Para cambiar una prioridad, haga clic en las flechas en la parte inferior derecha. Luego será llevado a la página que se muestra en la imagen a continuación.
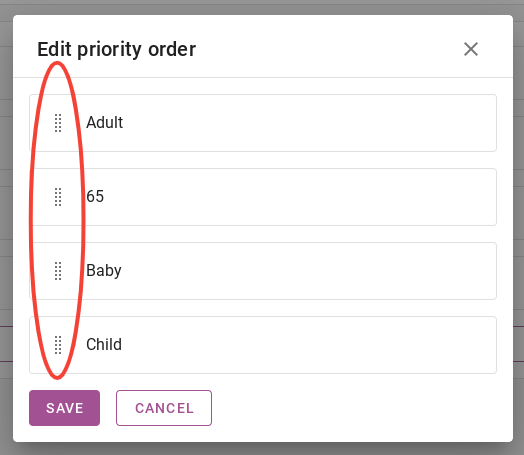
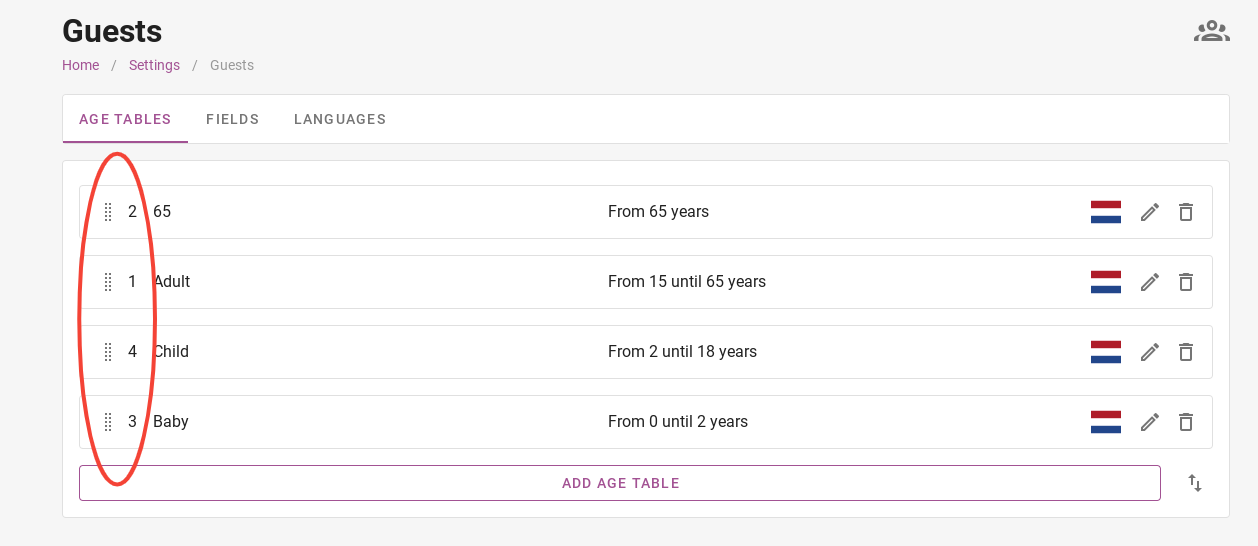
Puede cambiar la prioridad arrastrando las tablas de edad hacia arriba o hacia abajo con los puntos rodeados en rojo en la imagen de abajo. La tabla de edades en la parte superior tiene la máxima prioridad.
Recuerde siempre hacer clic en ´guardar´ al realizar un cambio.
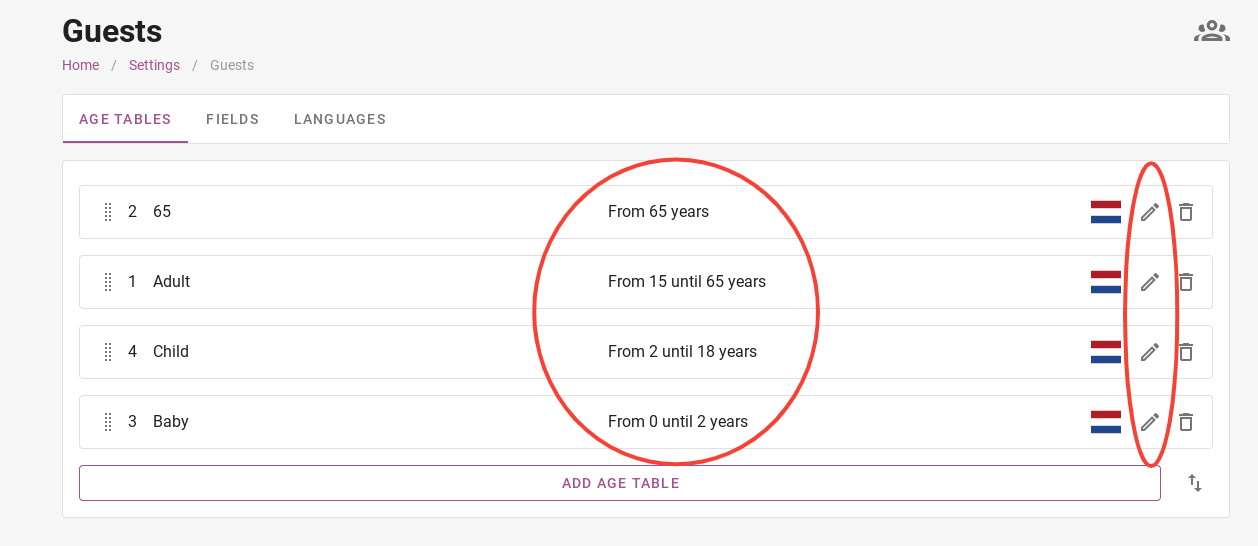
En el parque de demostración de Camping.care se han elegido determinadas edades. En el parque de demostración, un bebé tiene una edad de 0 a 2 años, un niño tiene una edad de 2 a 18 años y así sucesivamente. Por supuesto, puedes establecer qué edades pertenecen a cada tabla de edades. Al hacer clic en el lápiz de la derecha, puedes cambiar las tablas de edad.
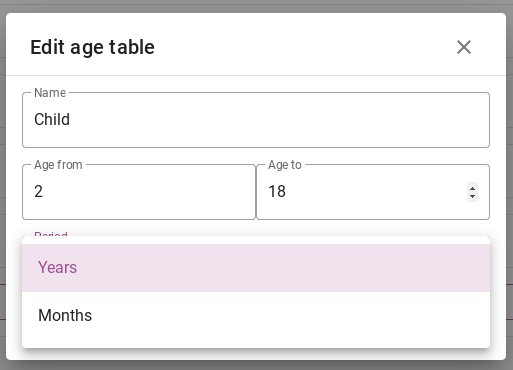
Cuando hayas pulsado en el lápiz, aparecerá una pestaña donde podrás cambiar la tabla de edades. Aquí podrás cambiar el nombre, la edad a la que aplica y si son años o meses. Después de editar, no olvide hacer clic en el botón "editar" para guardar el cambio.
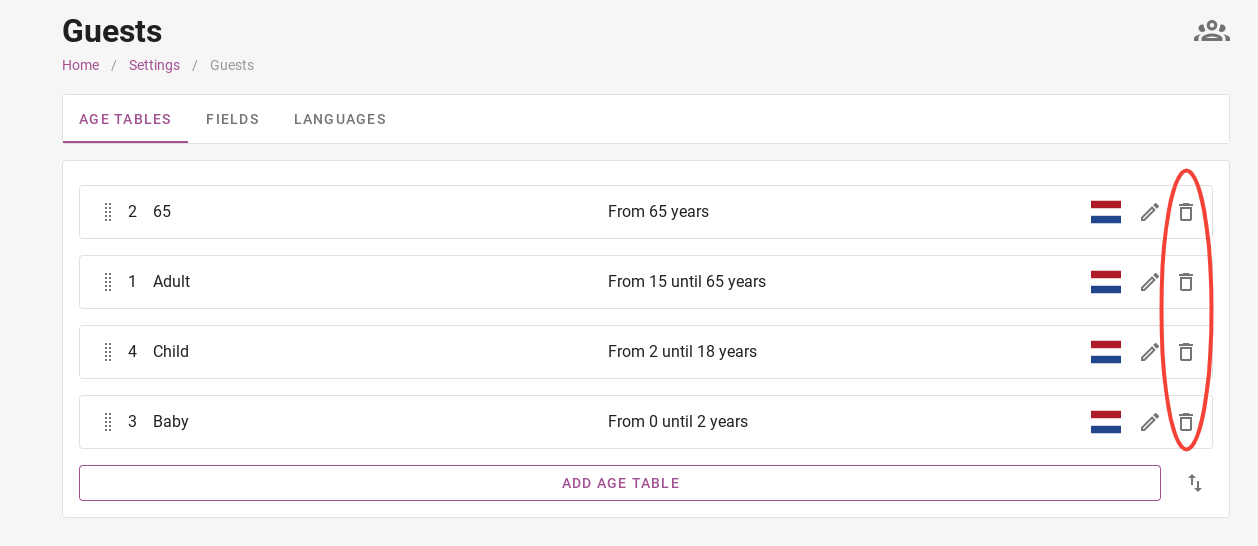
Para eliminar una tabla de edad, haga clic en el contenedor de la derecha. En la imagen de arriba está rodeado de rojo.
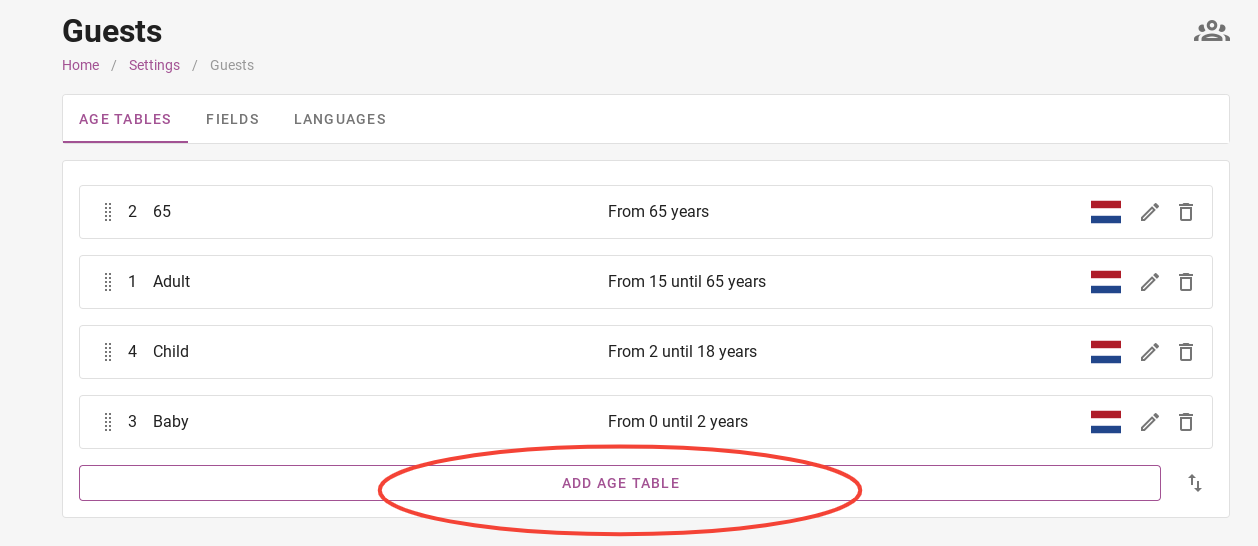
Para agregar una nueva tabla de edades, haga clic en el botón morado donde dice "agregar tabla de edades". Luego, al igual que cuando editas una tabla de edades, puedes ingresar el nombre, las edades inicial y final y si son meses o años.