N8N
Camping Care – n8n Community Node Documentation
This guide explains how to install the Camping Care (Starfish) Community Node in n8n and how to connect it using your Camping Care API Key.
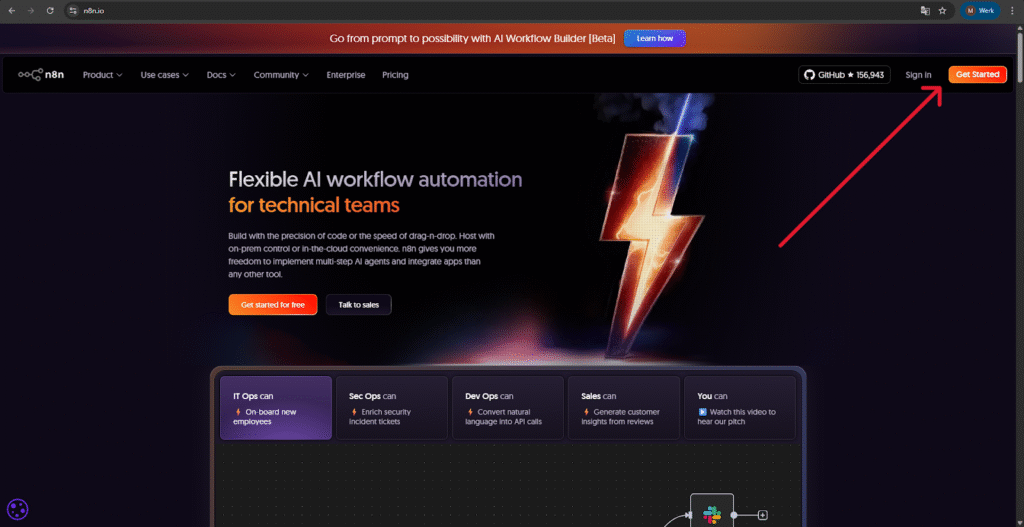
1. Open n8n
Gå til n8n.io and click Get Started.
- Already have an account? Click Sign In and continue at Step 4.
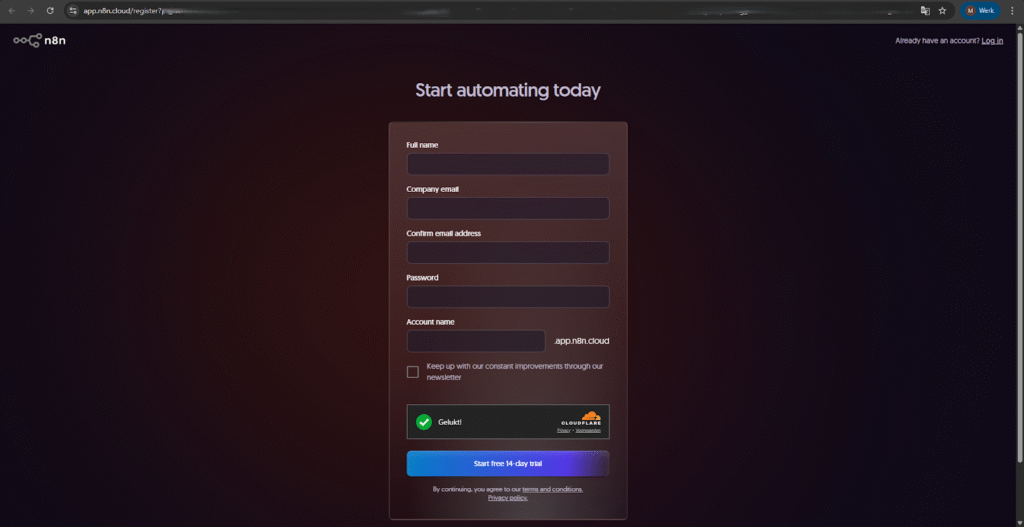
2. Create an n8n Cloud account
Enter your details and start the 14-day free trial.
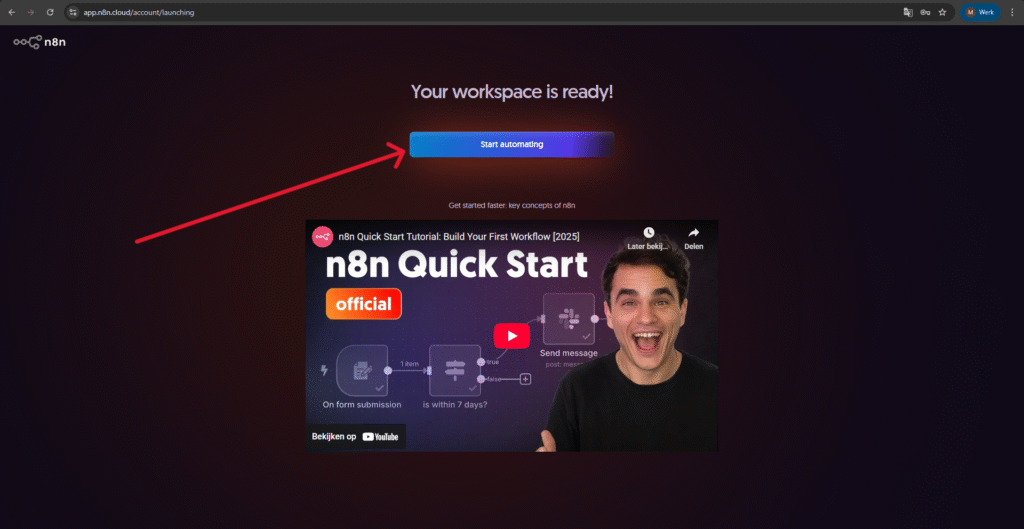
3. Start your workspace
Wait until your workspace is ready and click Start automating.
4. Installing the node
There are two ways to install the Camping Care node:
- 4.1: n8n Cloud (new accounts, not self-hosted)
- 5.1: Self-Hosted installations
Choose the option that applies to you.
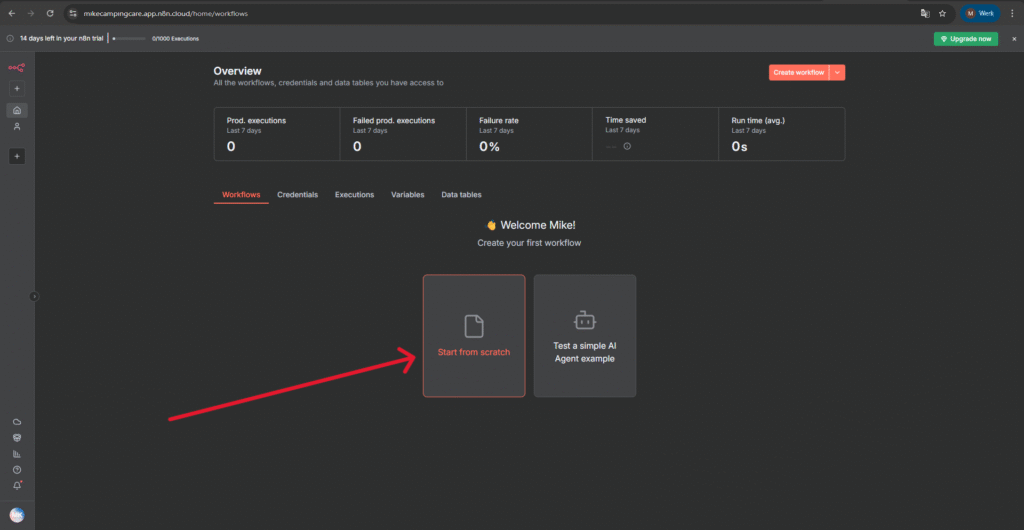
4.1 Installation in n8n Cloud
1: Create a new workflow by clicking Start from scratch.
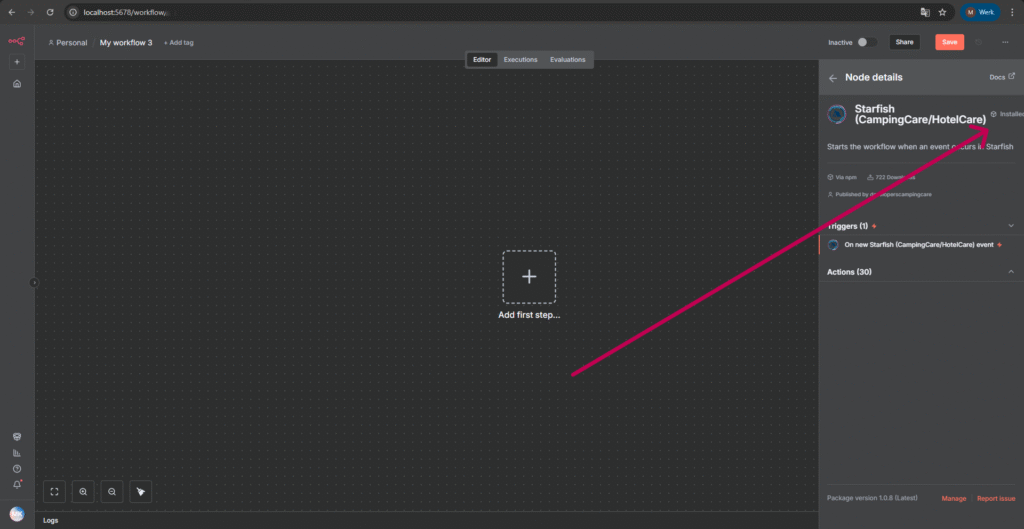
2: Click the plus (+) icon to open the node panel.

3: Search for Starfish.

4: Click Install node.
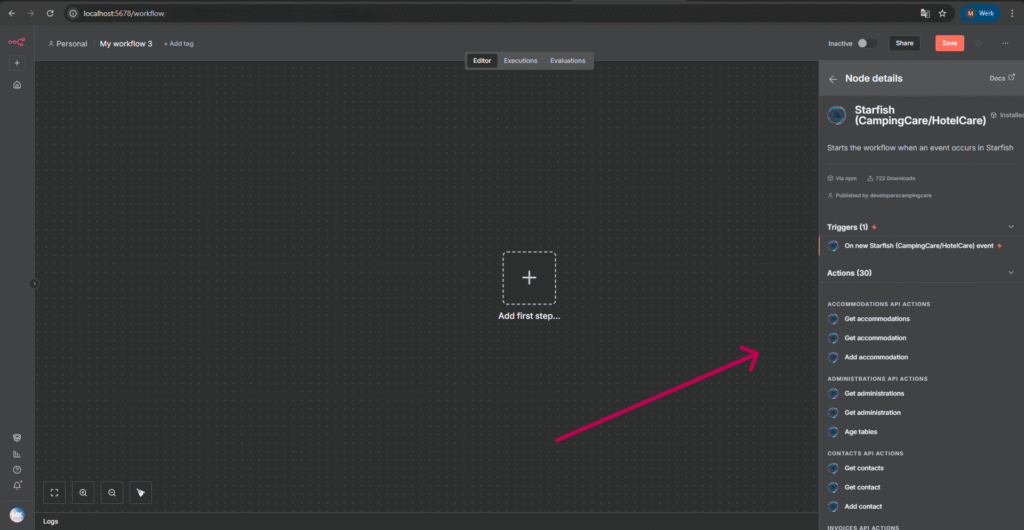
5: Select the Trigger or Action you want to use and continue to Step 6.
5.1 Installation in Self-Hosted n8n
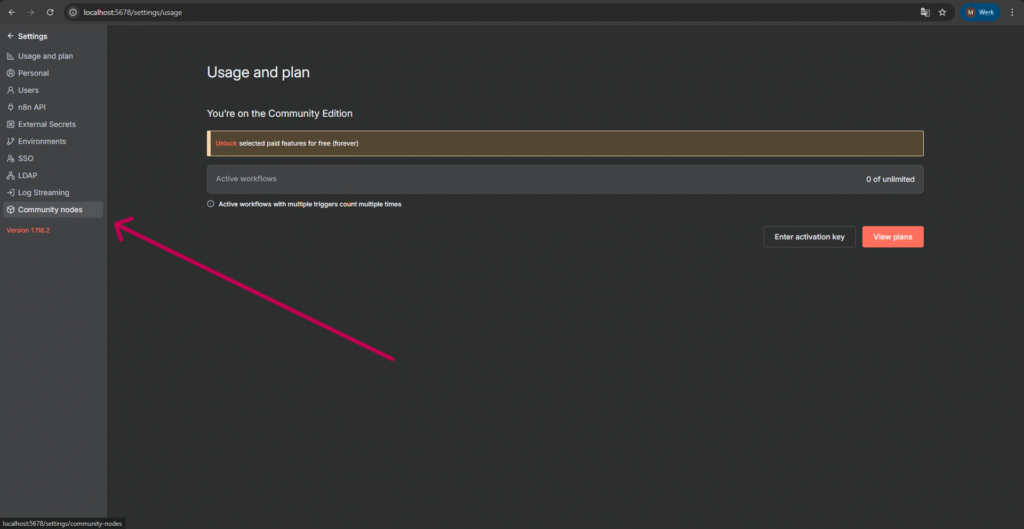
1: Go to Indstillinger.
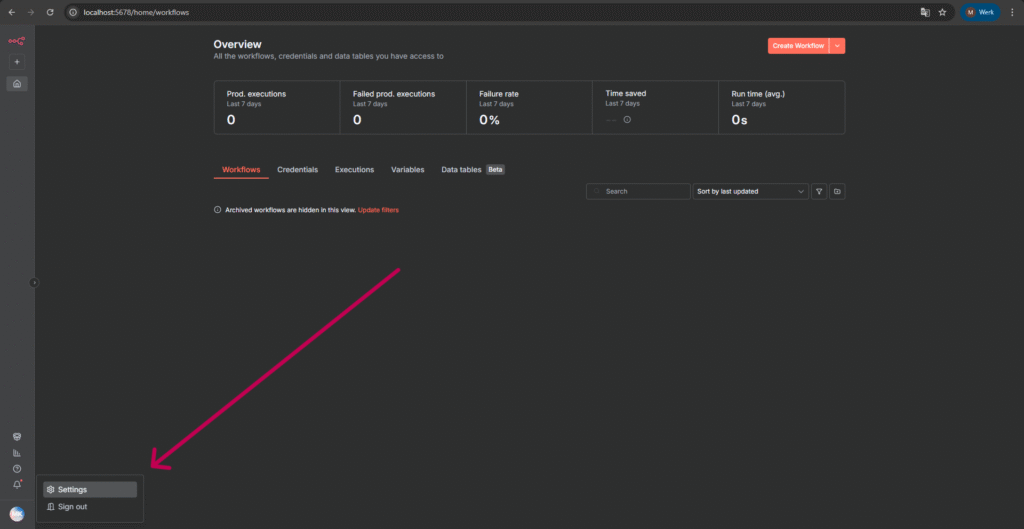
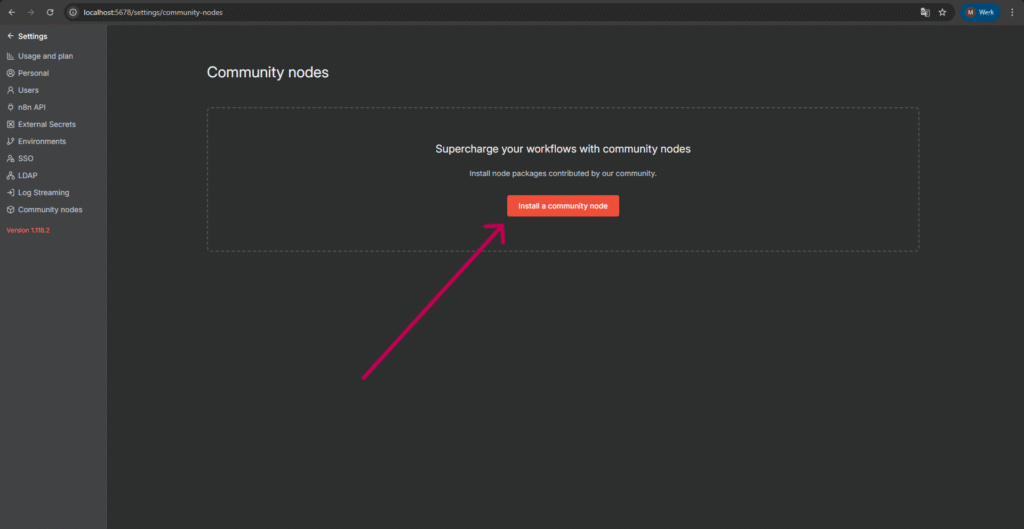
2: Navigate to Community Nodes.
3: Click Install a community node.
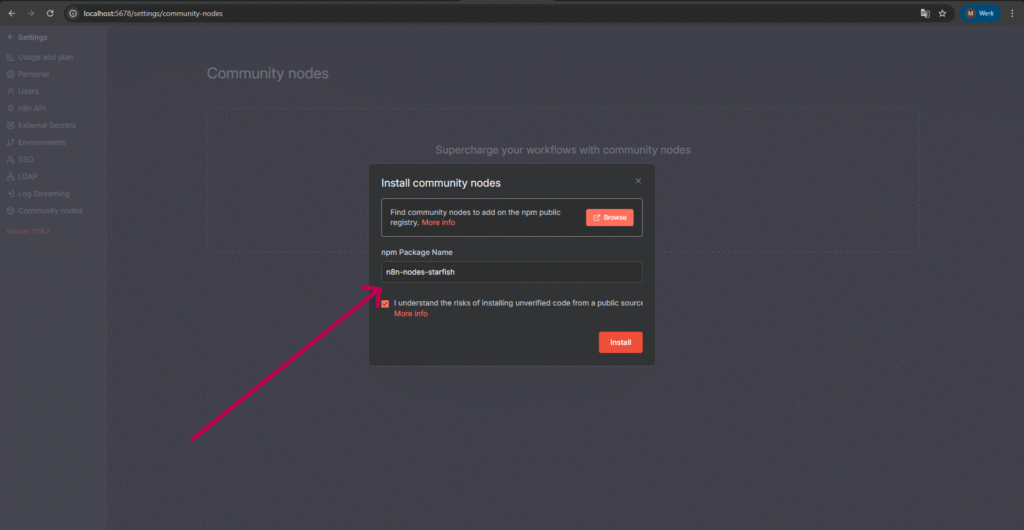
4: Enter the following in the npm Package Name field:
n8n-nodes-starfish
Then click Installere.
5: Go back and create a new workflow (Start from scratch).
6: Click the plus (+) icon.
7: Search for Starfish and select the node.
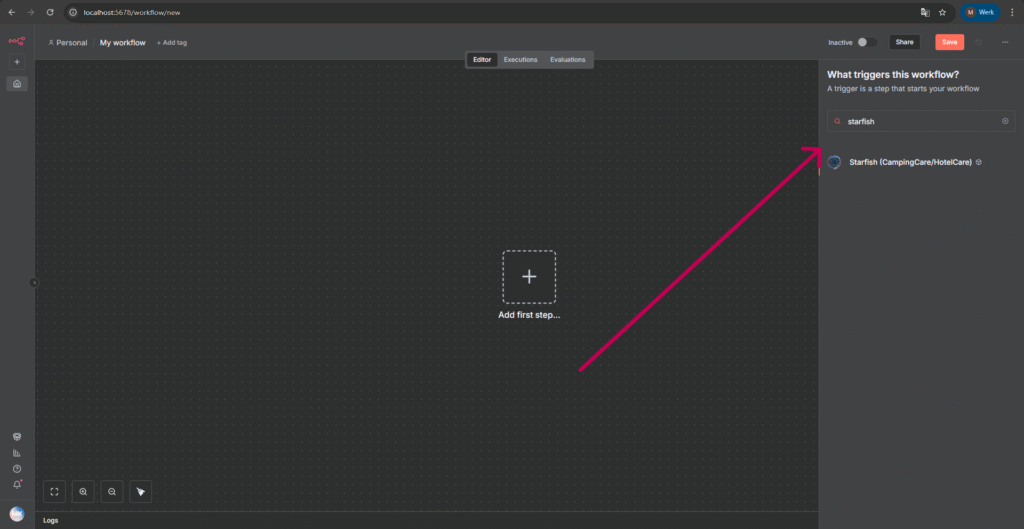
8: Choose the Trigger or Action you want to use.

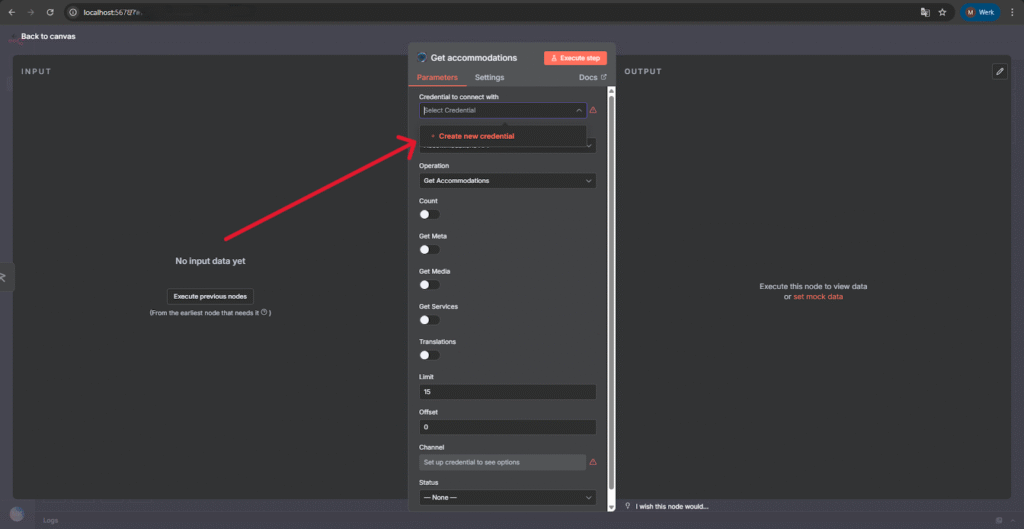
6. Create a new credential
To use the node, you need to create a new credential.
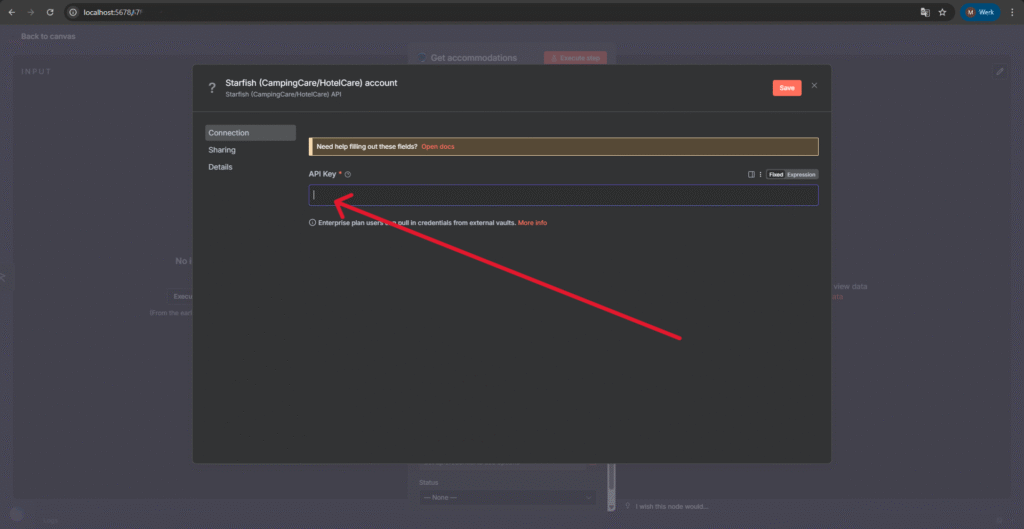
7. API Key required
You need an API Key to connect n8n to app.camping.care.
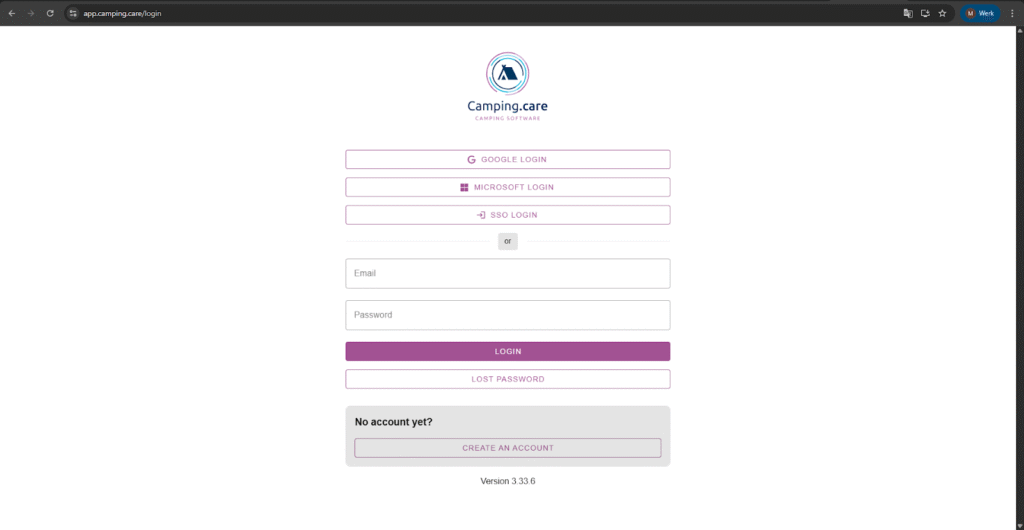
8. Log in to Camping Care
Go to: https://app.camping.care/login
- If you don’t have an account yet, create one.
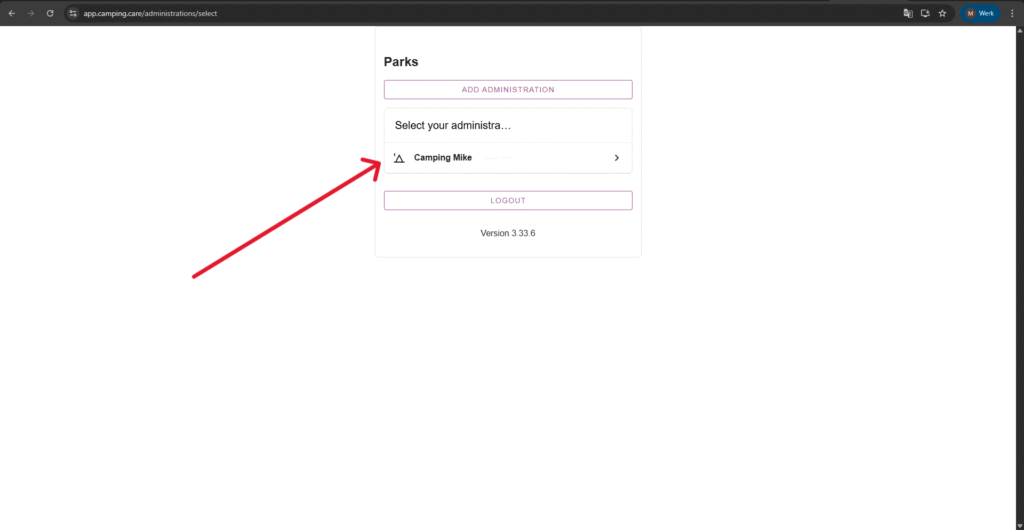
9. Select your Administration
Choose the administration you want to use.
- If you don’t have one yet, add a new administration first.
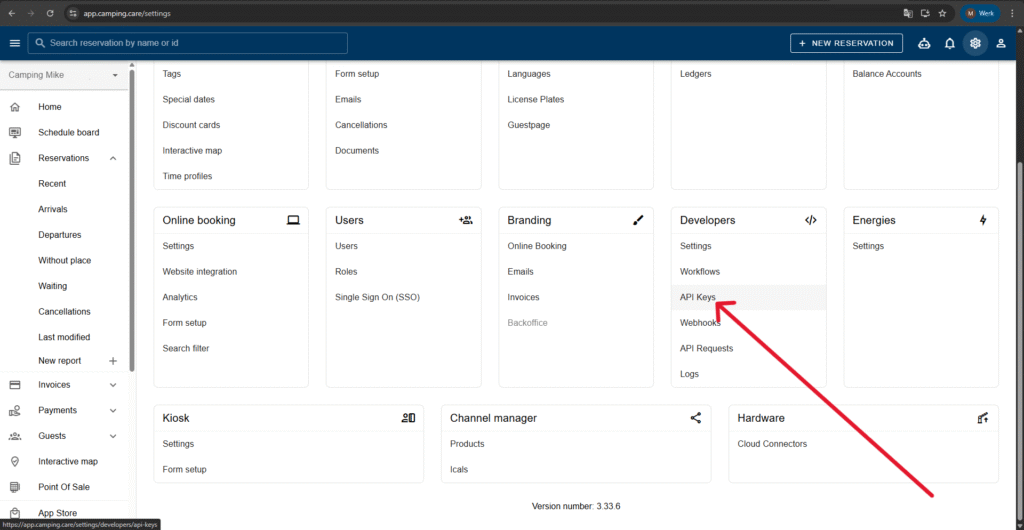
10. Go to Settings
Once logged in, open Indstillinger.

11. Open the API Keys section
Scroll down to Developers → API Keys and click it.
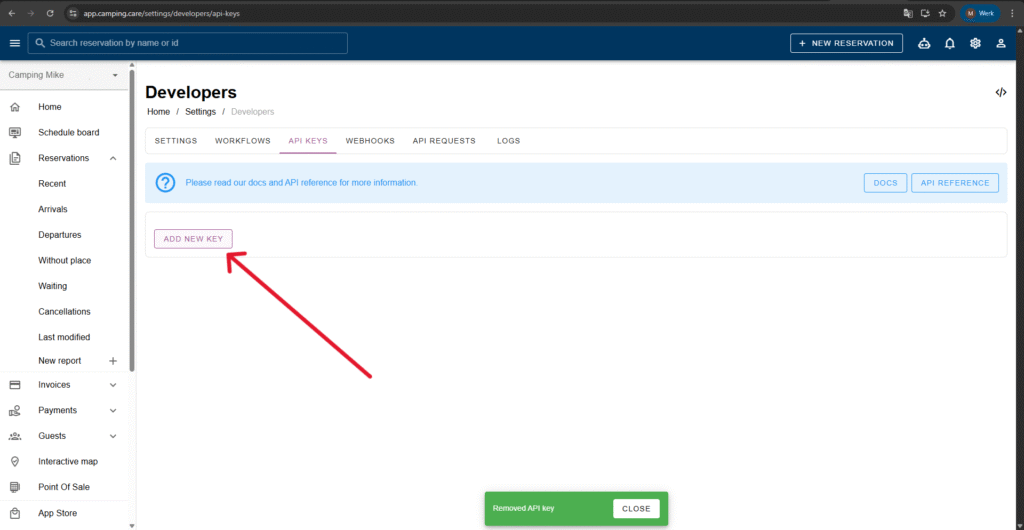
12. Create a new API Key
Klik Add new key.
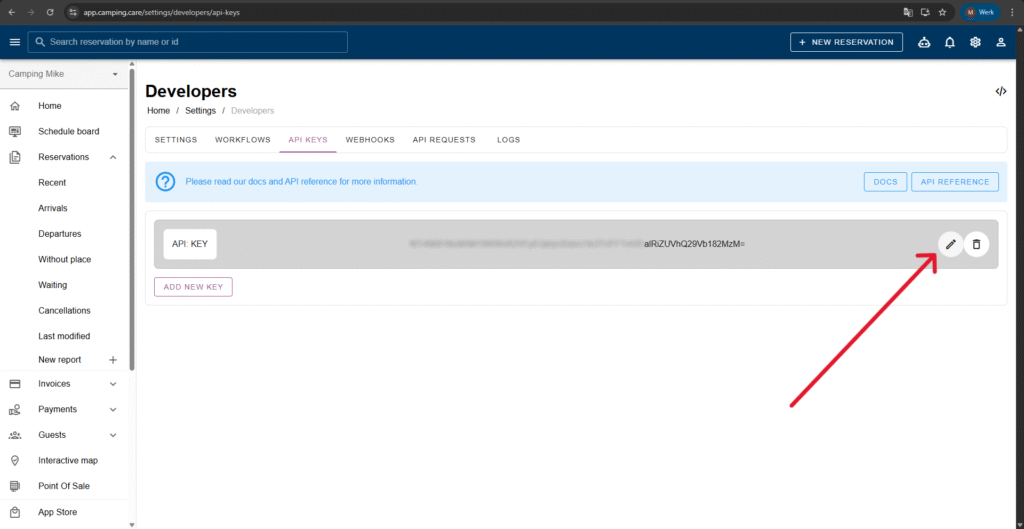
13. Copy the key or add scopes
Klik Edit if you want to:
- copy the API key, or
- add scopes.
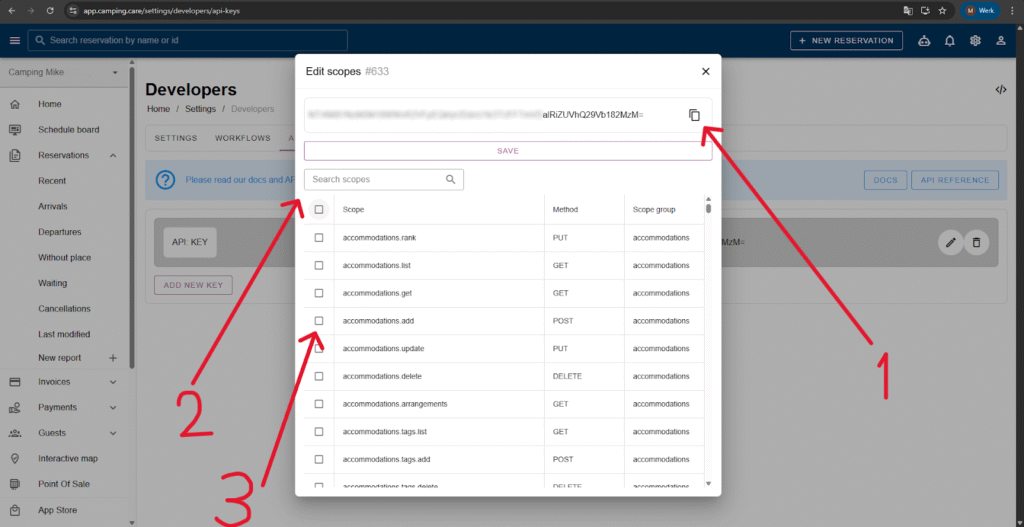
Scope options:
- Klik 1 to copy the key.
- Klik 2 to search for scopes.
- Klik 3 to add a scope or select the first one under Scope to enable all scopes.
Don’t forget to click Save!
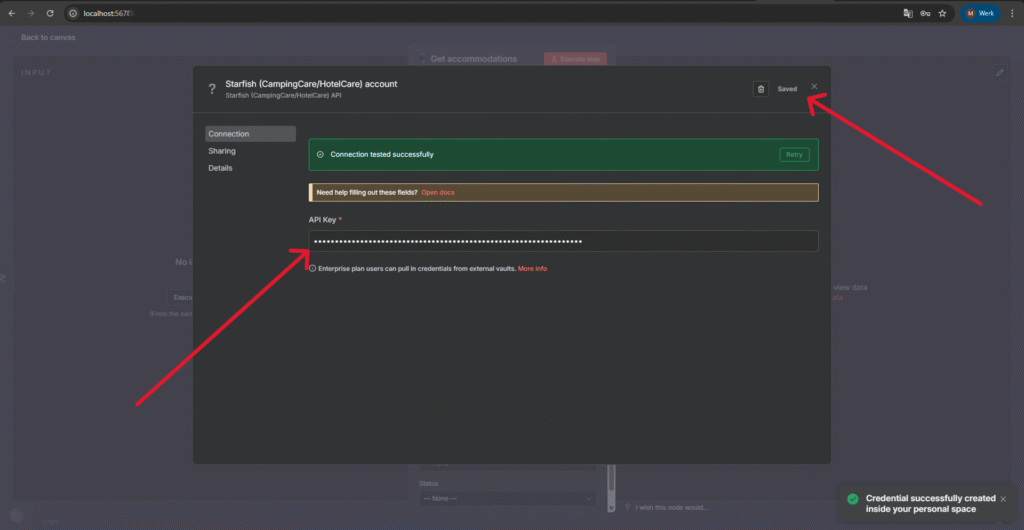
14. Add the API Key to n8n
Paste the key into the API Key field in your credential setup and click Spare.
If everything is correct, you’ll see:
“Connection tested successfully.”
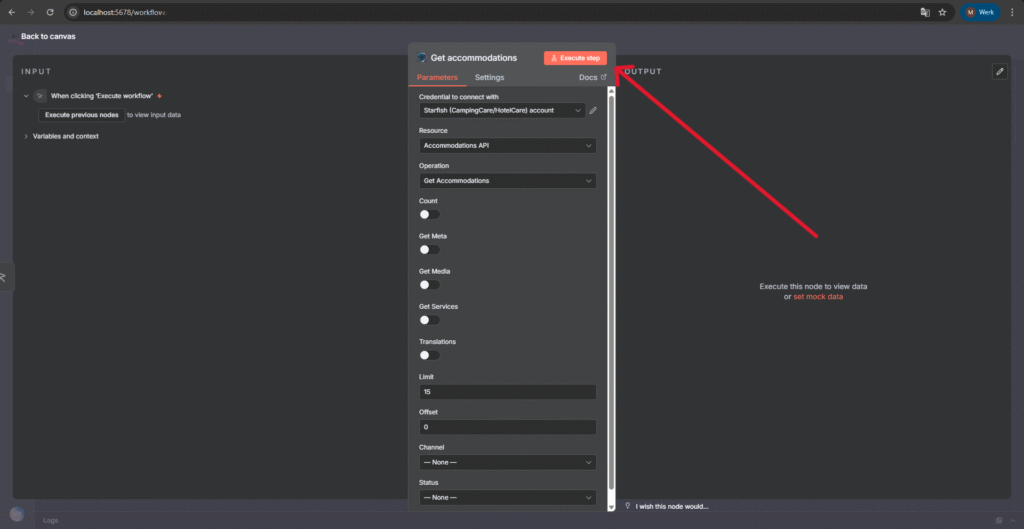
15. Execute the node
Klik Execute Step in your workflow and you should now see the output.