How do custom fields work?
Originally written in English, any translations errors should be checked against the original atricle
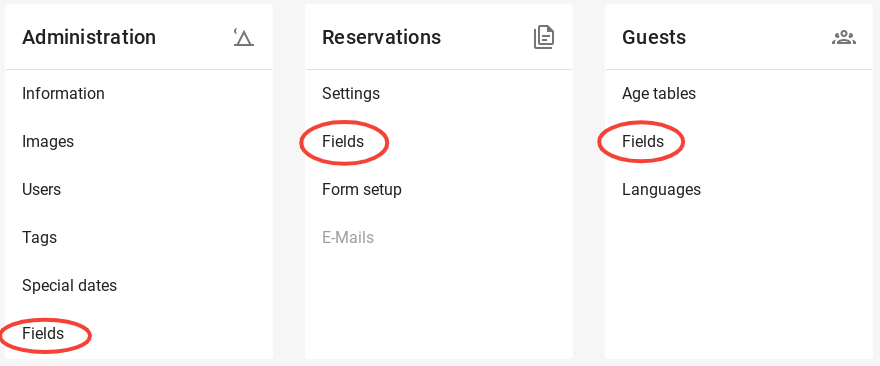
1. Administration fields
2. Reservation fields
3. Guests fields
4. Form setup
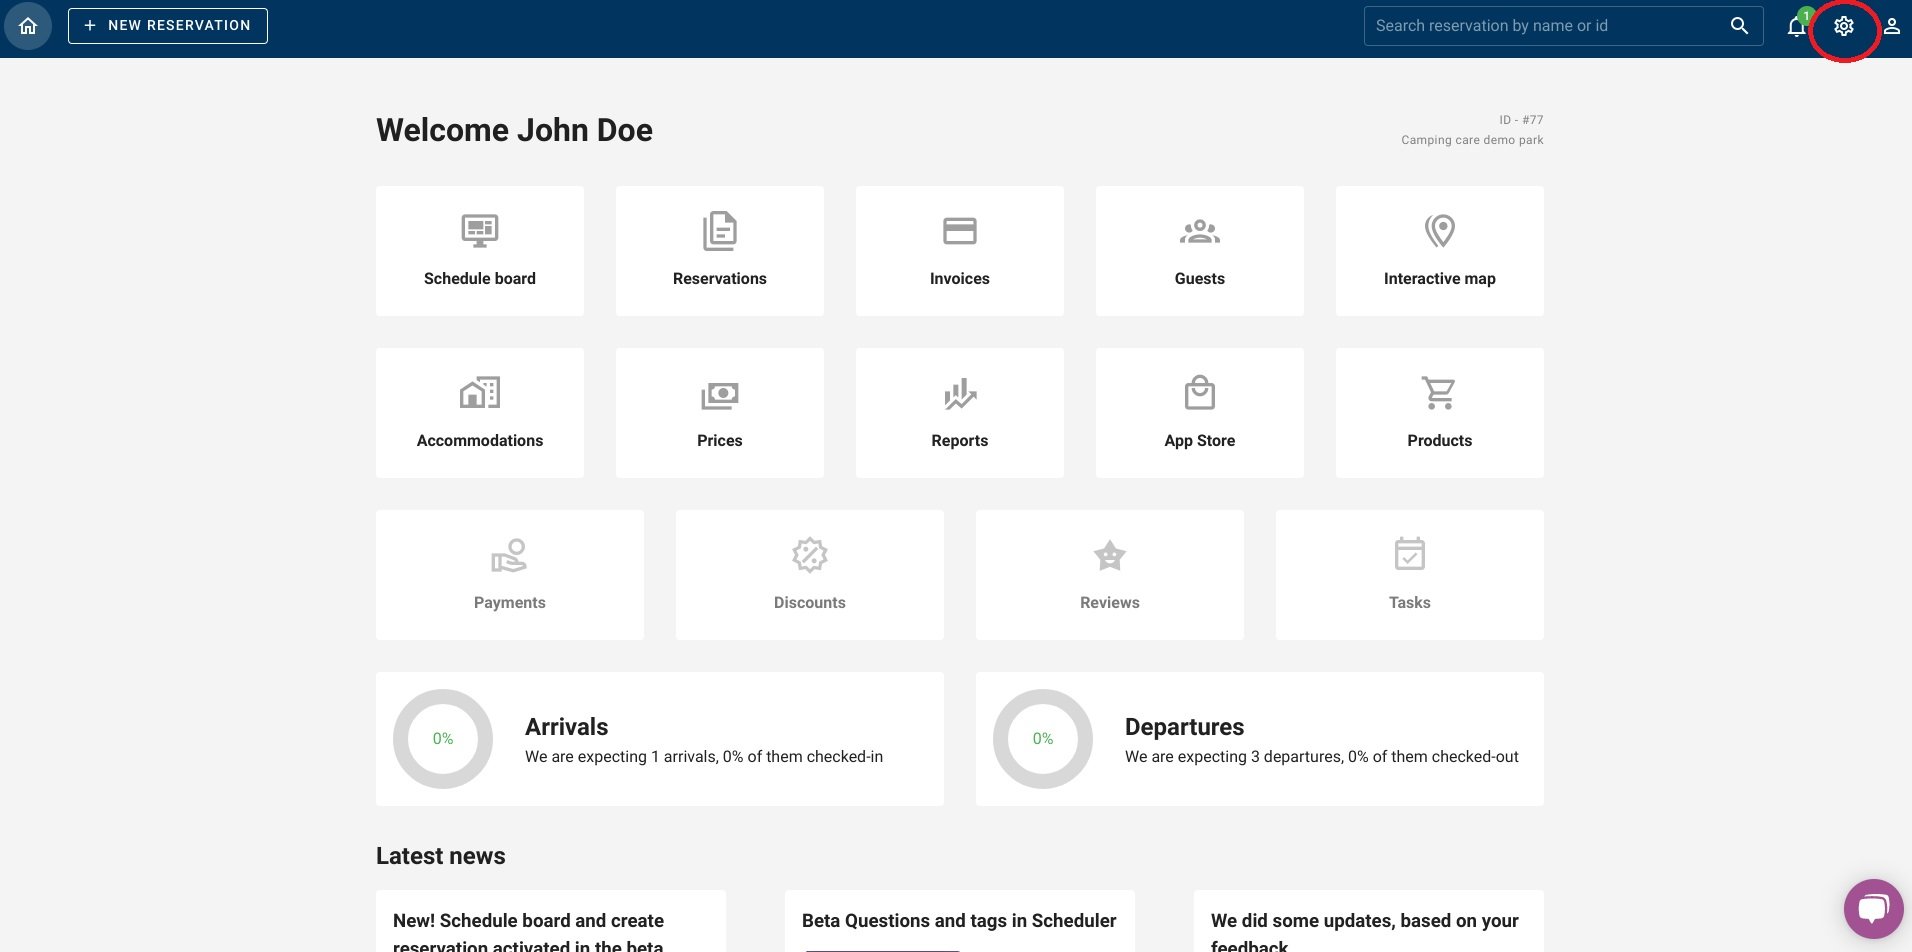
By clicking on the cogwheel in the upper right corner of the dashboard, you will get to the settings. From here you can go to the custom fields. There are three different custom fields available. These are administration fields, reservation fields and guests fields.
Custom fields provide information needed by end users, managers, and administrators allowing to create precise reports and gather important data.
1. Administration fields
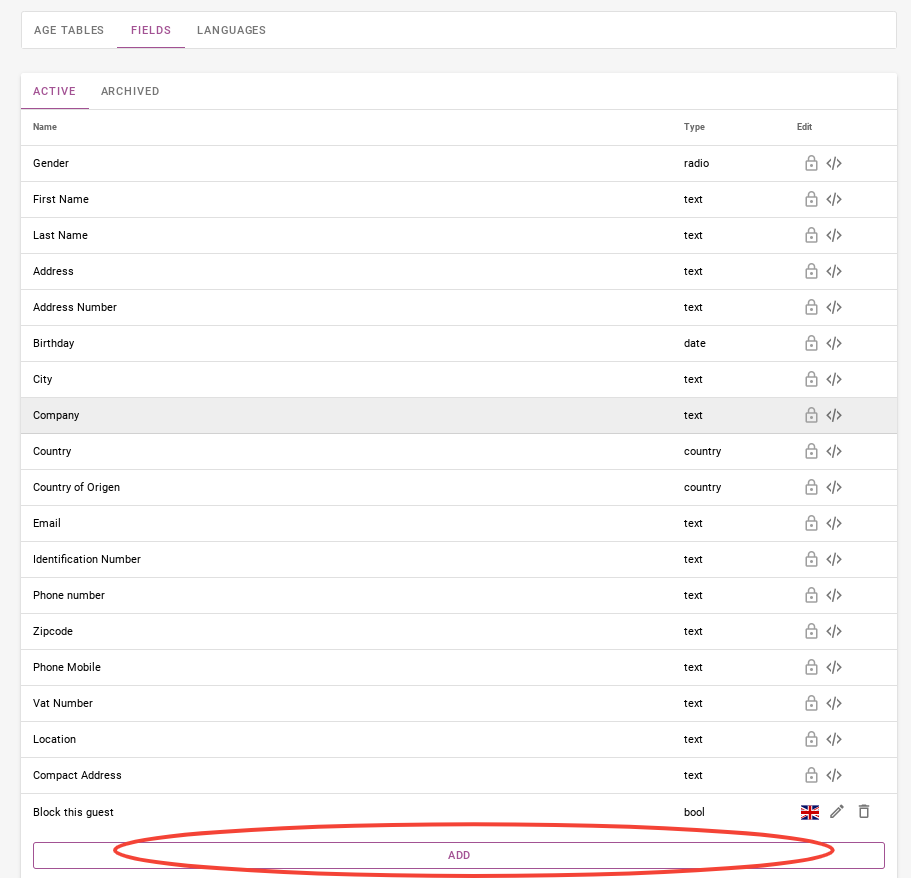
Here you can see all the custom fields that are currently active. On the right-hand side, circled in red, you can see that most of the custom fields have a lock. These are mandatory and cannot be changed. The bottom one is an example of a custom field that you can add yourself.
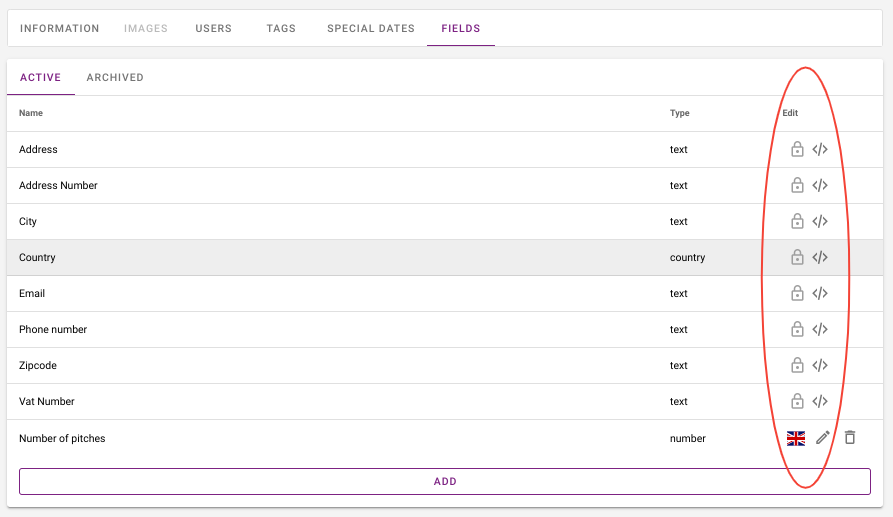
Circled in red, you can see where you can translate, adjust or delete the current custom fields.
%20(1).png)
By clicking on the purple ´add´ button, you can add your own custom fields.
-1.png)
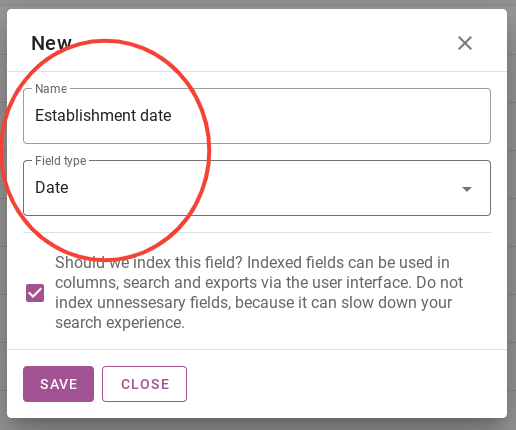
When you click on the ´add´ button, you will see the tab below. You can specify the name of the custom field, the field type and whether this custom field should be indexed. As an example, a field has now been created which is the founding date of the campsite. This is probably not very important, but it is just an example.
Then click on save. If you then go back to the information tab, you will see the custom fields in the top right-hand corner. This is circled in red on the picture below.
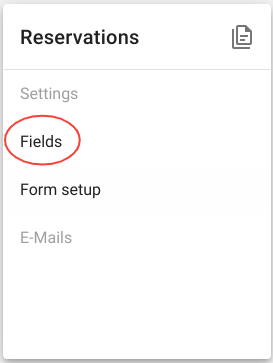
2. Reservation fields
When you have clicked on ´Fields´, you will be directed to the page below. Here you can see the standard fields and the custom fields that can be applied when making a reservation.
For example, the note, note guest and location are mandatory. These cannot be changed. If you want to know more about the guest, you can ask for the license plate number or the vehicle with which they will be camping. You can personalise this completely.
%20(1).png)
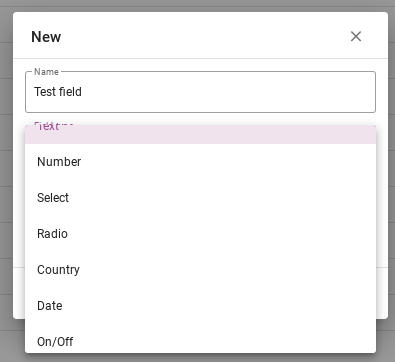
When you click on the purple button ´add´, you can enter your own fields. The picture below shows how you can add them. As you can see from the picture below, there are several types you can choose from. They will be discussed one by one below.
.png)
.png)
- Text: There is a text box and a small piece of text can be typed
- Number: A number can be entered. For example, how many dogs are included.
- Select: A choice can be made between certain options. Select is often used when many options are possible and one can be chosen.
- Radio: Then you often see all possible options on the screen. An example of an option that is often used as a radio is gender.
- Country: It contains all the countries of the world and you don’t have to type them all.
- Date: The only option available is to enter a date.
- On/Off: An on/off button appears.
The explanation of the different field types applies to all custom fields
3. Guests fields
%20(1).png)
Under guests fields in the settings you can see all the guests fields that are in the system. Guest fields can be used to store additional information about your guests, such as the license plate, and so on.
%20(1).png)
In addition to the standard fields that are already available and cannot be deleted, you can create additional fields yourself. In the picture below, you can see circled in red that almost all guest fields are standard fields here. Only the bottom field is a self-created field. The lower one is also the only one that can be modified or deleted.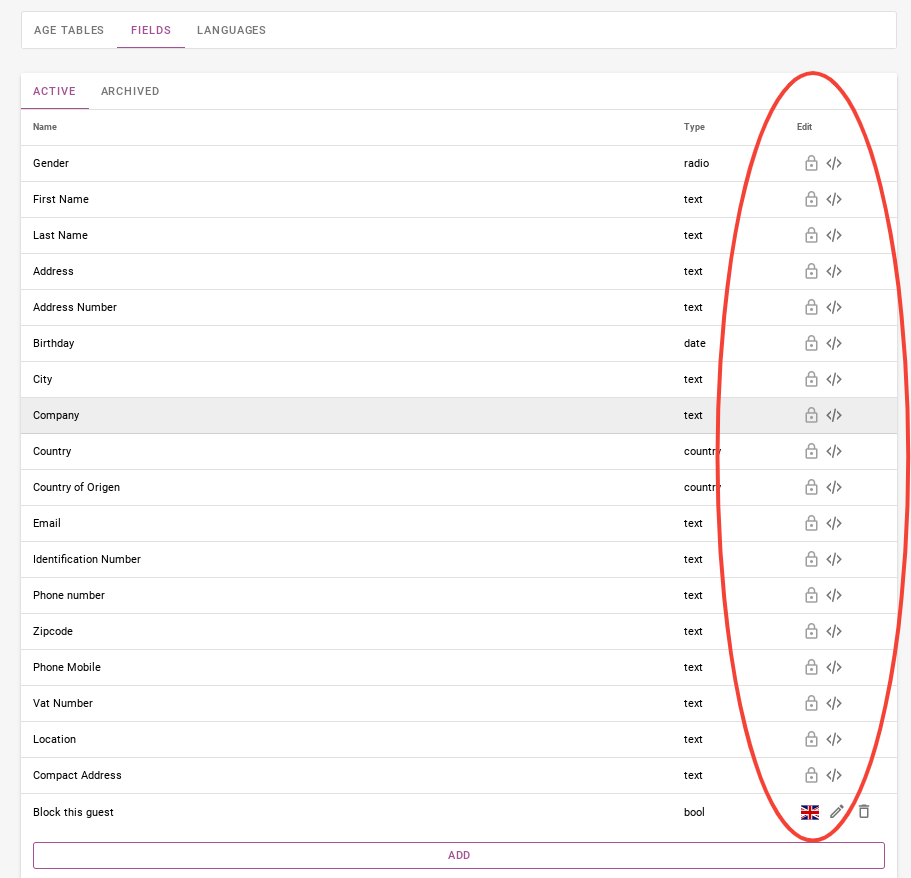
By clicking on the purple ‘Add’ button, you can create a guest field.
Then enter the title and determine the field type.
4. Form setup
In the form setup you can indicate which information you want to obtain from the guest when making a booking.
As shown in the image below, a distinction is made between guest fields and reservation fields.
%20(1).png)
Guest fields are forms that will be placed in the booking engine and will be seen by the guests making the booking.
As you can see, forms such as first name, last name, date of birth, e-mail, telephone number, etc. are all included in guest fields. On the right hand side there are a number of forms that have been created, but will not appear in the booking line.
For example, if you want to know the VAT number of the guest, click the bin next to this field on the right. As shown in the image below.
%20(1).png)
When you click on the bin, you will see that it will be added to the active guest fields. As shown in the image below. These guest fields only apply to the main guest.

For co-travelers, you can choose to receive different data than that of the main guest. You can choose which data you want to obtain, just as with the main guest.
%20(1).png)
It can also happen, of course, that someone else books and that person is not one of the travellers. In this case you can set the information you want to obtain under the Booker tab.
%20(1).png)
You can choose to make certain forms a requirement for the guest. In the picture below you can see where you can set this up in red circles. The asterisks in red mean that it is a required field.
%20(1).png)