-
Backoffice / PMS
-
- What are iCal feeds? And what can I do with them.
- How to set up products under accommodations
- Cancellations
- Setting period conditions
- Accommodations overview
- Add new accommodation
- Adding Prices / Rates to an accommodation
- Discounts
- Taxes
- Options
- Places / Rooms / Objects
- Accommodation settings
- How to set up an accommodation?
-
- How can I work with report lists?
- How do I change the next invoice number?
- Delay invoice finalization.
- How do i send PDF or UBL invoices to your Accountancy System automatically?
- Direct payment links
- Ledgers
- Invoice branding for e-mails
- How does the invoice screen looks like
- What is the difference between concept and final invoices?
- How do I add a product to the invoice?
- How to finalize an invoice?
- How do I print the final invoice?
-
- How can I work with report lists?
- How can guest information be overwritten?
- How does the Scan Document work?
- Adding guests
- Form setup
- Guests settings
- How to send an email to the guest manually
- How do i modify the informations of the guest?
- How do guest languages work?
- How do custom fields work?
- How to Create and Use a Blocked Guest List
-
- How can I work with report lists?
- Copy a reservation.
- How can guest information be overwritten?
- How does the Scan Document work?
- Price calculation error codes
- Cancellations
- Remove a reservation from a group booking
- Form setup
- Combine two bookings
- Add a existing booking to a group booking
- Add a new booking to a group
- Split a booking
- Remove a period within a booking
- Add days to a booking
- Cancellation of a booking in a group
- How to add a payment to a reservation
- How to add or change a place / room / object in a reservation
- Traveller info
- How do I change the place of a reservation?
- How to add a payment to a reservation?
- How to send an email to the guest manually
- How do I change the communication language for a reservation?
- How do i modify the informations of the guest?
- Create a new reservation (Backend)
- How do I export reservation data to excel?
- Can I save my custom reservations list?
- How do cancellations work?
- What kind of reservation statuses are there?
- How do I change the status of a booking?
- How do I make a reservation?
- How do custom fields work?
- How to Create and Use a Blocked Guest List
- Show Remaining Articles ( 17 ) Collapse Articles
-
- What are iCal feeds? And what can I do with them.
- Balances
- How do I change the next invoice number?
- VAT Groups
- Online Booking Settings
- Workflows
- How do I enable the BETA Features?
- How do I prevent emails to be marked as Spam?
- How to setup two factor authentication (2FA)
- How do I set up a Kiosk?
- Special dates
- Form setup
- E-mails
- Discount cards
- Interactive map settings
- Fields
- Ledgers
- Invoice branding for e-mails
- Users
- Form setup
- Roles
- Providers & methods
- Online Booking Settings
- Website Integration
- Invoice settings
- License Plates
- Administration images
- Tags
- Guests settings
- How do age tables work?
- How do guest languages work?
- How do I login with my SSO account?
- Branding
- How do custom fields work?
- Show Remaining Articles ( 19 ) Collapse Articles
-
-
Online booking
-
App Store / Integrations
-
- Articles coming soon
-
Point of Sale (POS)
-
Self Service Kiosk
-
Hardware
-
Support
-
Subscriptions
Originally written in English, any translations errors should be checked against the original article.
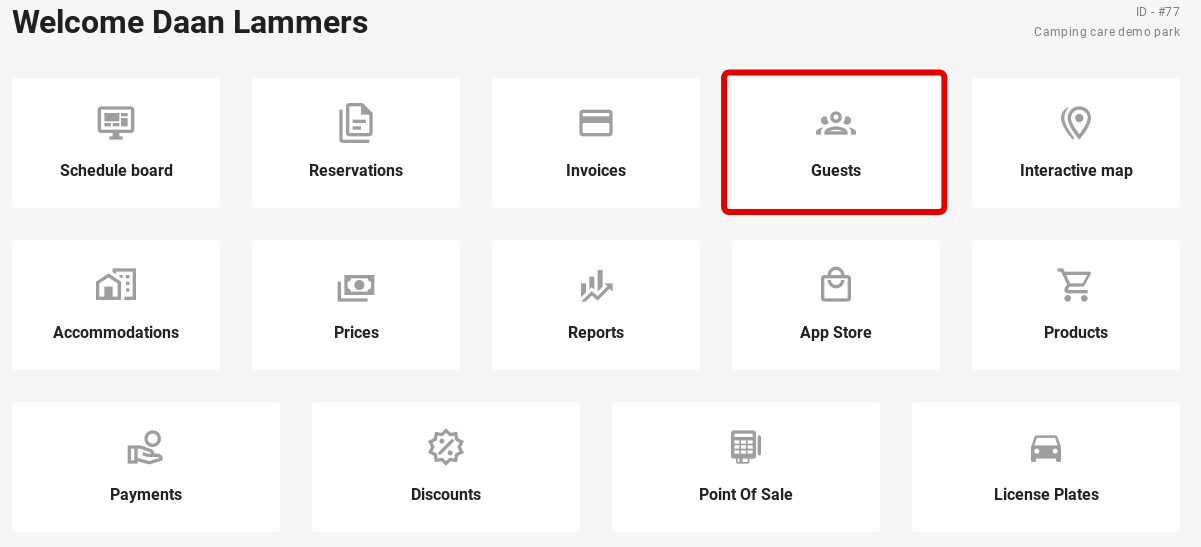
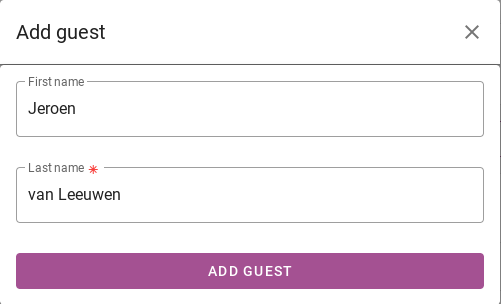
Clicking on´Guests´ on the main page will take you to a list of all the contact details of the guests in the system. To add a guest, click the ´Add guest´ button.

First, enter the first and last name of the new contact.
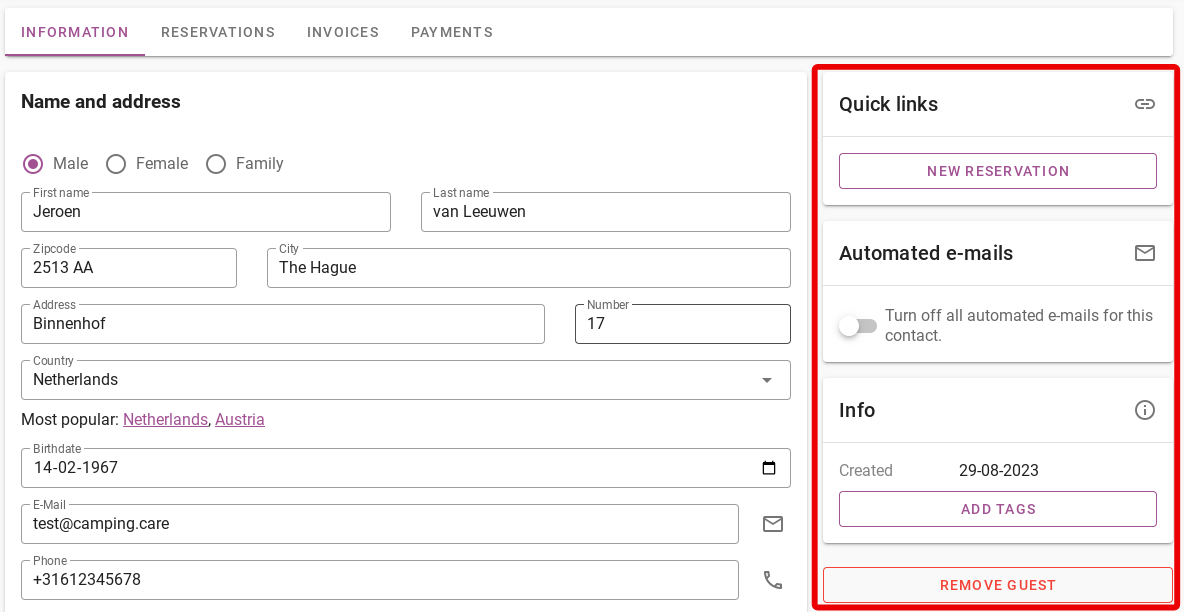
Then you fill in the rest of the guest’s information. The image below shows which information of the guest can be filled in.
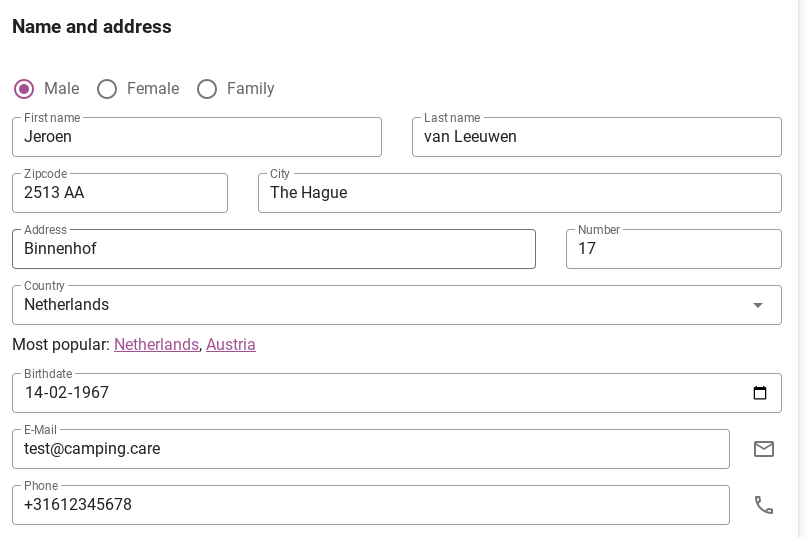
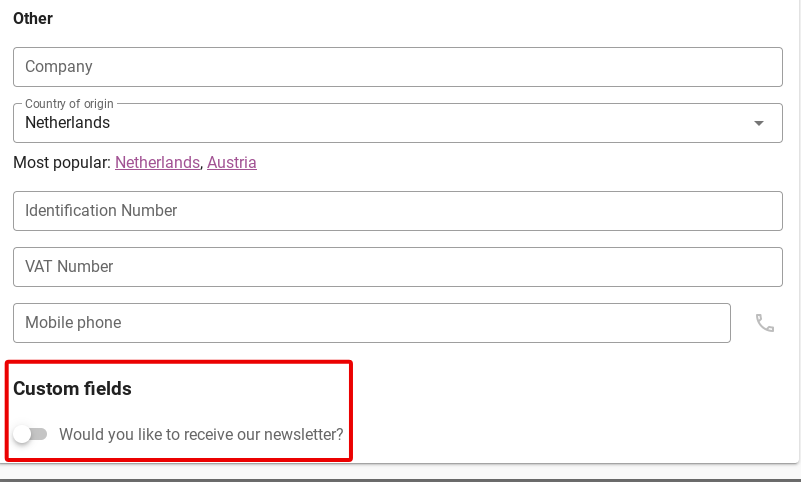
You can also fill in additional guest fields if necessary. You can see which ones in the image below. At the bottom under ´Custom fields´ you can see the fields you can customise yourself. Click here, for more information on adding ‘custom fields’.
On the right-hand side are a number of options to continue working from the contact. For example, under ´Quick links´ you can start a reservation from the contact. For more information on making a reservation, click here.
It is also possible to disable all e-mail traffic for a particular contact.
You can add tags to contacts for easy filtering when creating reports. For more information on adding and managing tags, click here.
Finally, at the bottom you can use the red ‘Delete guest’ button to remove the contact from the system.
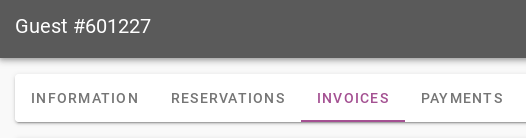
At the top, you will see several tabs. Above, the ´Information´ tab is explained. All other tabs are briefly explained below:
- Reservations: Here you can see all reservations sense the system made with this contact
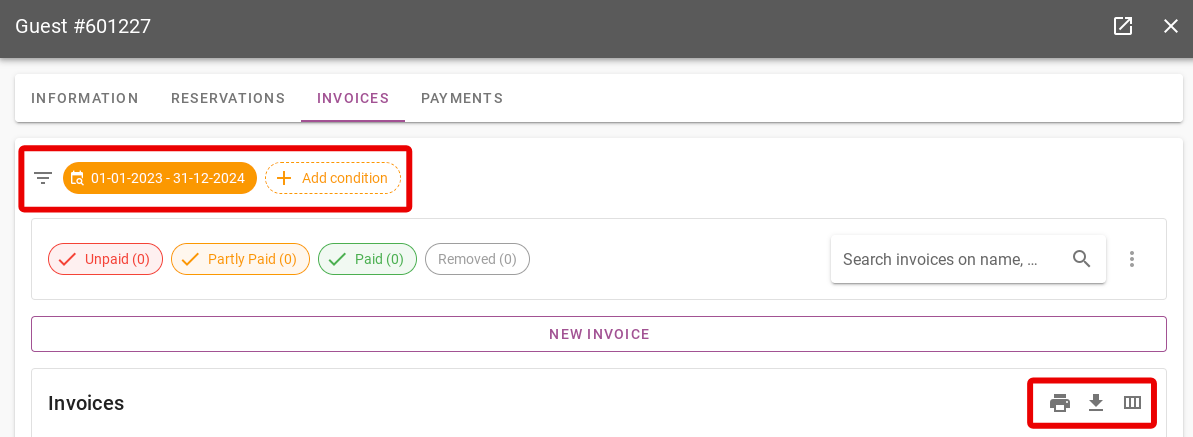
- Invoices: Here you can see all invoices linked to this contact
- Payments: Here you can see all payments made by this contact.
It is also possible to add different conditions and to generate a report from this tab.