Workflows
It’s possible to automatically send email templates to guests for specific events, by creating workflows.
Adding items to the workflow will change when these emails will be sent based on time, accommodation and channel.
1. Creating a workflow
2. Workflow items
– Timers
– Conditions
– Send email
3. All events described
– Reservation created
– Checkedin
– Checkedout
– Arrival Date
– Departure date
– Confirmed
– Cancelled
– Invoice created
– Contact created
– Unpaid payment term
– Payment created
1. Creating a workflow
If you have created workflows before, they can be seen here. You can also create a new workflow here. To do so, click the purple ‘Add workflow’ button.
![]()
Next, you decide what you want to create a workflow for. In the image below is an example of a workflow that starts after a reservation is created .
A workflow allows you to define the entire process of activities that are performed. With the workflow ‘Reservation created’ you can define the entire process that happens when a reservation is made.
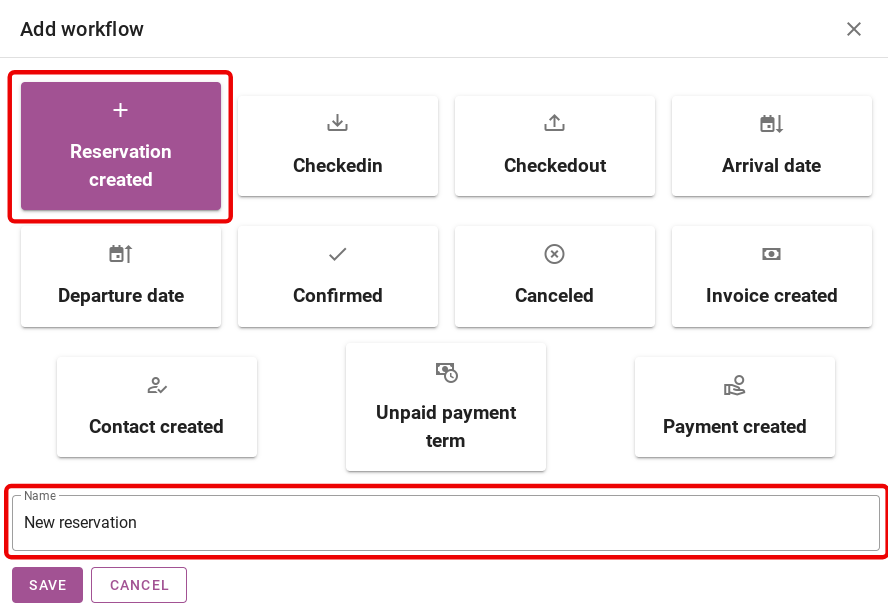
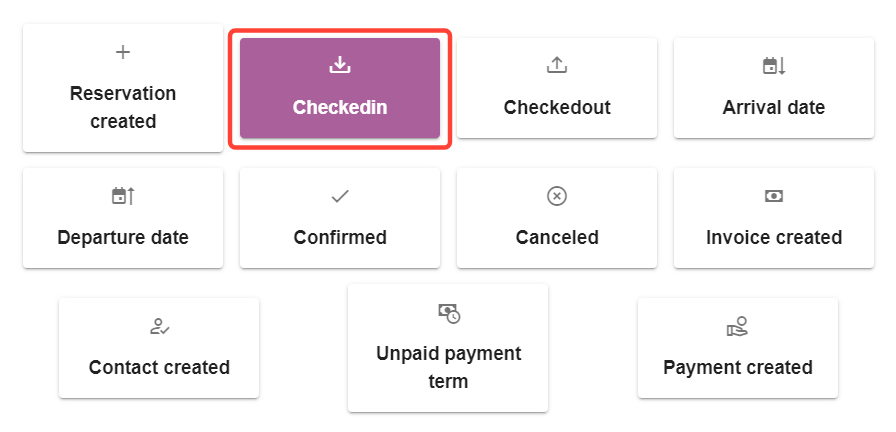
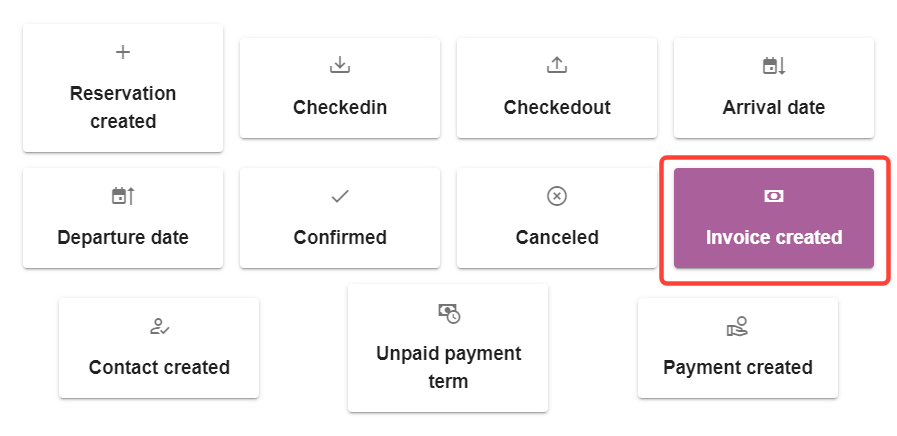
In total here are 12 workflow events to choose from:
– Immediate events: Reservation created, Checked in, Checked out, Confirmed, Cancelled, Invoice created, Contact created, Payment created.
Emails for these events will be sent immediately, unless a timer is set to schedule it for a later date.
– Scheduled events: Arrival date, Departure date, Unpaid payment term.
Emails for these events are scheduled to be sent for their specific dates. By adding a timer it’s possible to schedule them before or after the event date.
Once a workflow has been created. On the left-hand side, you can move the slider to (de)activate the workflow. On the right-hand side, you can edit or delete the workflow.

2. Workflow items
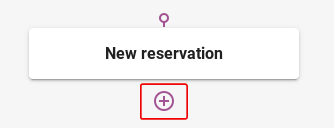
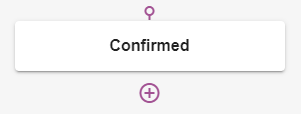
After creating a workflow, you can add items to the workflow by clicking on the + symbol:
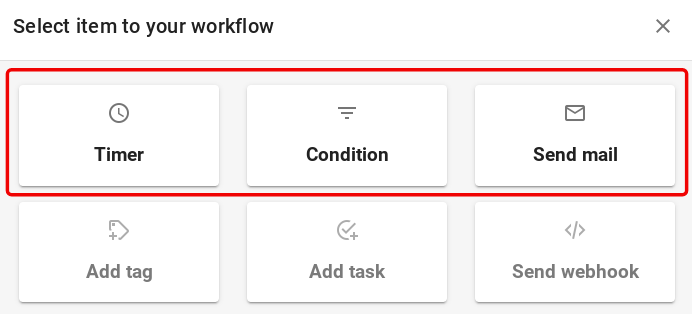
There are 3 types of items to choose from:
Timers, Conditions and Send mail.
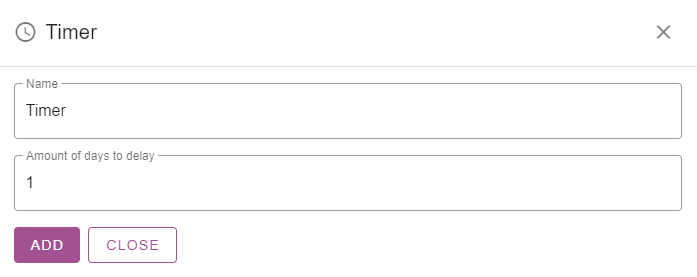
Timers
Timers allow you to schedule emails for a different date, instead of being sent out immediately or on the day of the event.
For example, setting a timer for 1 day means an email will be sent 1 day later. A reservation confirmation would normally be send out immediately, but now it will be schedule for tomorrow.
Scheduled emails will start to be sent out from 16:00 Central European Time and depending on the amount of scheduled emails, it could take up to several hours for all emails to be processed. Guests could receive an email at 16:00 or even at 17:30.
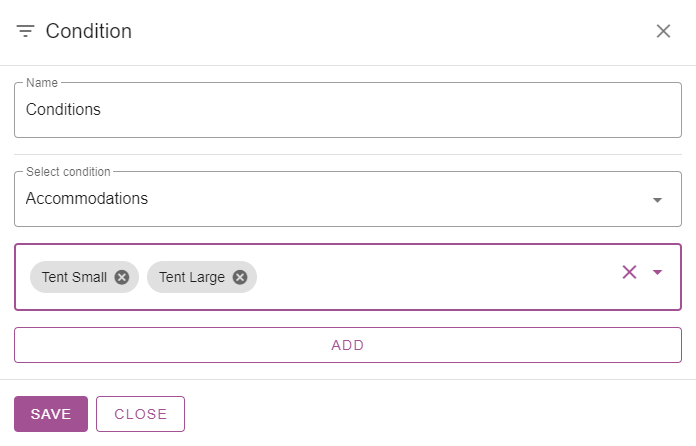
Conditions
This allows you to send emails according to specific accommodations or channels.
Send email
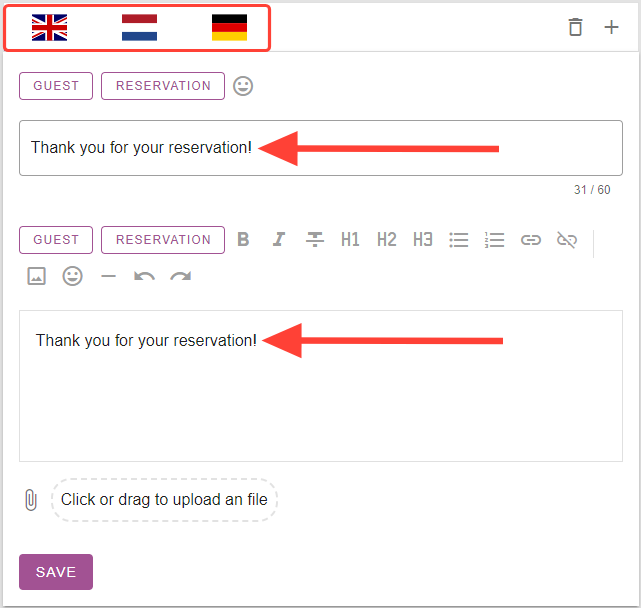
When creating email templates, please keep in mind that only templates with both subject and body information will be sent. If no proper template is available, no template will be sent.
If the default language email template has been filled in correctly, but a secondary language template is missing information, the default language email will automatically be sent instead of the secondary language.
When sending an email, it’s possible to have it sent to the email address of the guest, or a specific email address.

Selecting “Send to guest” will automatically send the email to the email address filled in by the guest.
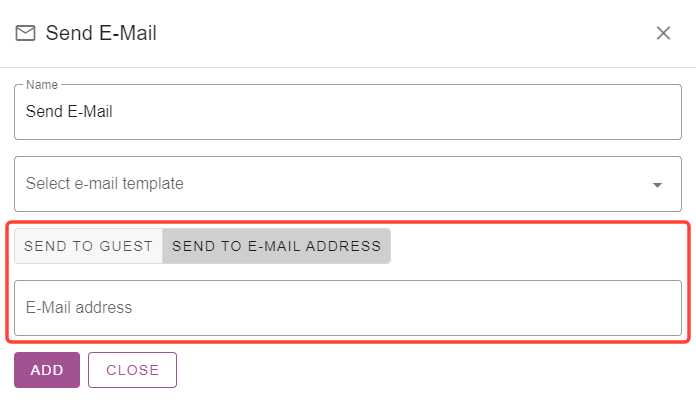
Selecting “Send to e-mail address” will always send the email to the specified email address. This option is ideal to have notifications sent to your reception.
3. All events described
Since adding a timer or condition has the same effect for all workflows, we’ll use the example of “Reservation created”.
Reservation created
The event “Reservation created” happens when a new reservation is made through any channel.
– For a backoffice booking this is after an employee clicks “create reservation”.
– For an online booking this is after a guest accepts the terms / conditions and clicks “book now”.
– For third party channels it’s after new reservation is put into our system.
Please keep in mind that the creation of a reservation is not dependent on payments. For example, if a guest books online and then doesn’t complete the payment process, a pending reservation will still be made.
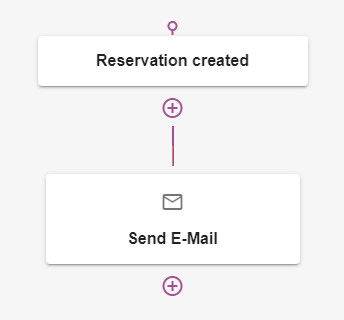
If we add the “Send E-Mail” items to the workflow, we can select a template we want to send.
Now when a reservation is created for any accommodation, through any channel, the selected email template will be sent to the guest immediately. Because no timers or conditions have been added:
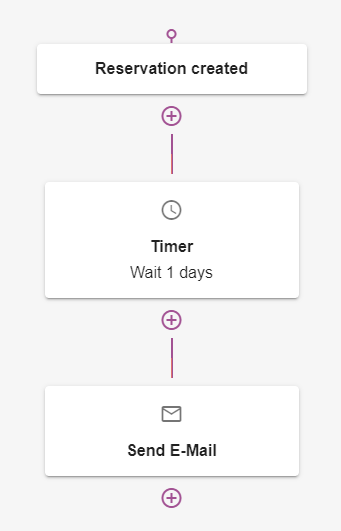
If we add a timer for 1 day delay and select the same email, now it will be scheduled to be sent the day after the reservation is made.
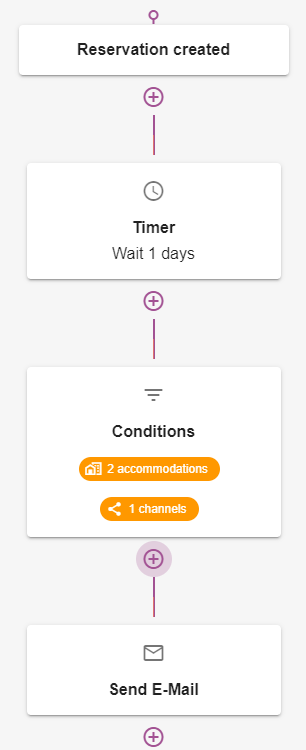
Adding conditions, like selecting certain accommodations or a channel, changes for which events emails will be sent. This example shows a workflow where an email will only be scheduled if a reservation is made for 2 specific accommodations and only if it was made through 1 specific channel.
Checkedin
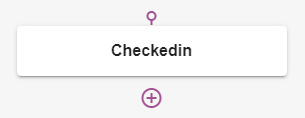
 The “Checkedin” event happens when the reservation status of a reservation changes to “Checked-in”.
Like “Reservation created”, a delay timer or condition can be added to change when an email is sent. This workflow is ideal to send guests a nice welcome message after they have checked in.
Checkedout
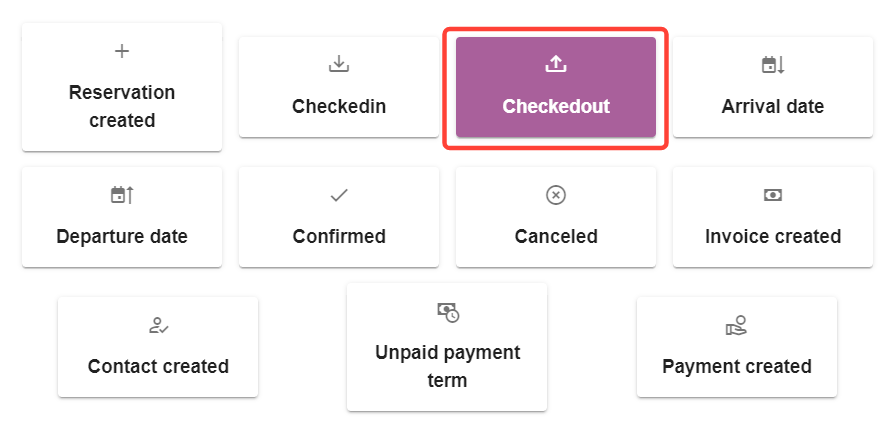
The “Checkedout” event happens when the reservation status of a reservation changes to “Checked-out”.
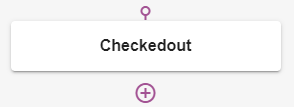
Like “Reservation created”, a delay timer or condition can be added to change when an email is sent. This workflow is ideal to ask guests how their stay was.
Arrival date
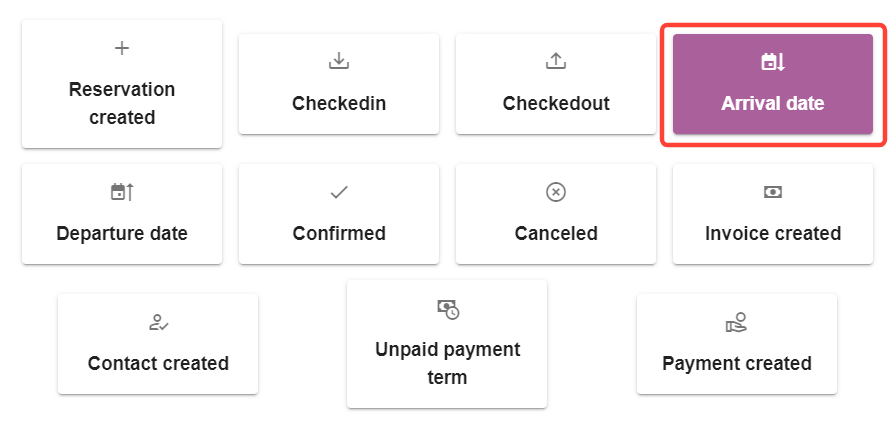
The “Arrival date” event allows you to schedule an email to be sent, based on the arrival date.
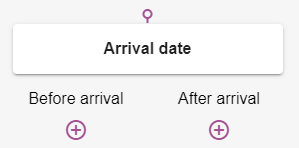
Not setting a timer means an email will be scheduled to be sent on the arrival date. Unlike “Reservation created”, this event allows you to schedule an email before and/or after the date. For example, setting the “Before arrival” timer to 7 days means a guest arriving on 20-05-24 will receive an email on 13-05-2024.
This workflow is ideal to remind a guest of their upcoming holiday at your campsite.
Departure date
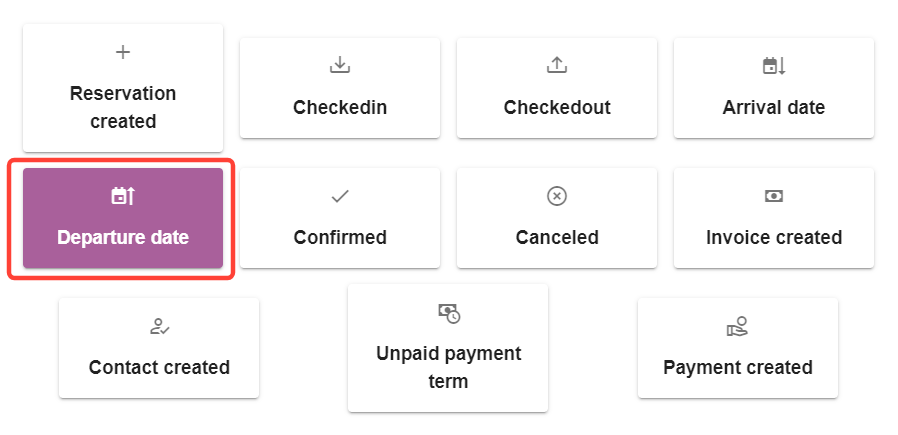
The “Departure date” event allows you to schedule an email to be sent, based on the departure date.

Not setting a timer means an email will be scheduled to be sent on the departure date. Unlike “Reservation created”, this event allows you to schedule an email before and/or after the date. For example, setting the “Before departure” timer to 2 days means a guest departing on 20-05-24 will receive an email on 18-05-2024.
This workflow is ideal to remind a guest about what to do on the day of departure.
Confirmed
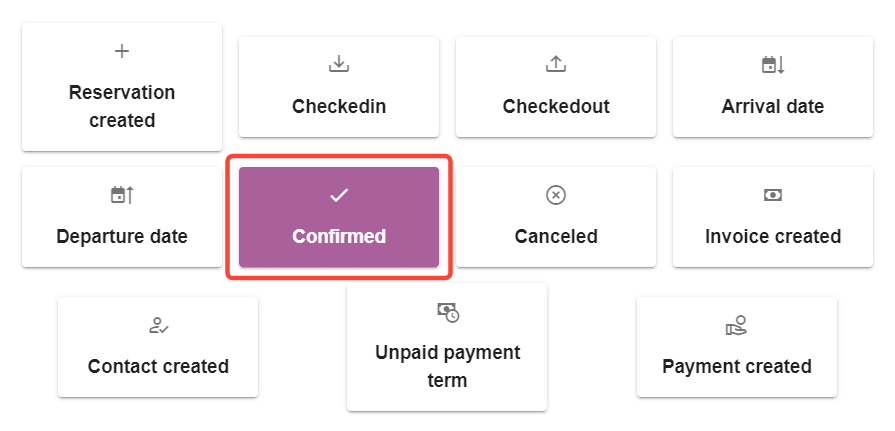
The “Confirmed” event happens when the reservation status of a reservation changes to “Confirmed”.
A status can be changed to ‘confirmed’ manually, or automatically if you want to confirm reservations after receiving payment.
Like “Reservation created”, a delay timer or condition can be added to change when an email is sent. This workflow is ideal to send guests an email that their reservation has been confirmed.
Cancelled
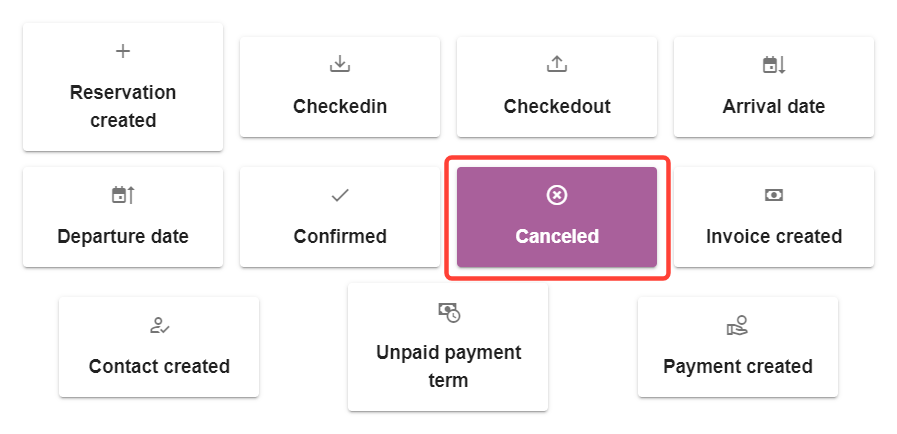
The “Cancelled” event happens when the reservation status of a reservation changes to “Cancelled”.
Like “Reservation created”, a delay timer or condition can be added to change when an email is sent. This workflow is ideal to notify guests their reservation has been cancelled.
Invoice created
The “Invoice created” event happens when a new invoice is created.
A new invoice is automatically created at the same time when a new reservation is created or when a payment is taken through the Point of Sales.
A new invoice can also be created manually, by selecting “new invoice” in the reservation screen or adding a new invoice in the Invoice menu.
Like “Reservation created”, a delay timer or condition can be added to change when an email is sent. This workflow is ideal to notify a guest or reception of the information on a new invoice.
Contact created

The “Contact created” event happens when a new contact is created.
A new contact is automatically created at the same time when a new reservation is created. A new contact can also be created manually, by adding new contacts in the Guest menu.
Like “Reservation created”, a delay timer or condition can be added to change when an email is sent.
Unpaid payment term
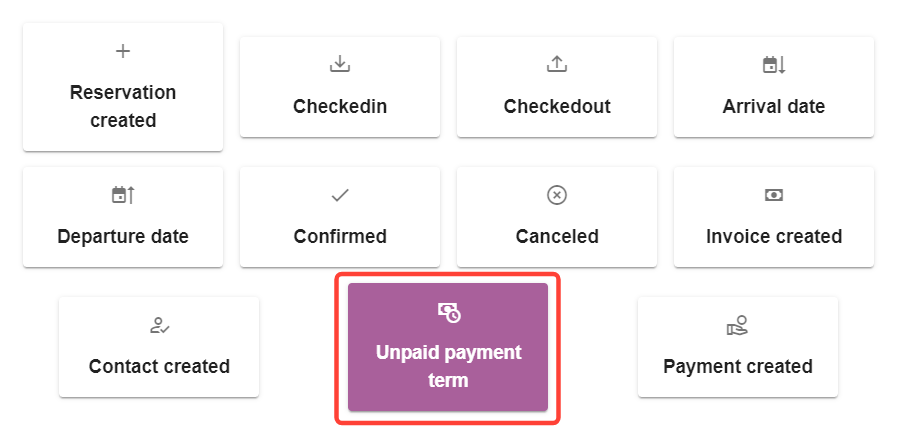
The “Unpaid payment term” event allows you to schedule an email, based on when a payment term is due. Payment terms are set per accommodation. Without a timer, emails are scheduled to be sent on the same date as the payment term(s).
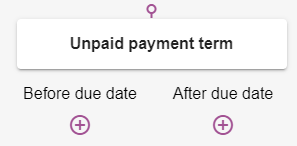
Unlike “Reservation created”, this event allows you to schedule an email before and/or after the date. For example, setting the “Before due date” timer to 7 days means a guest with payment due on 20-05-24 will receive an email on 13-05-2024.
If a payment term has been met and there’s no open balance, the unpaid payment term event will not be triggered. At the moment a payment term email is scheduled to be sent, our system double checks if it is unpaid. And if the balance has been paid even shortly before, no email will be sent.
This workflow is ideal to remind a guest they have to pay a remaining balance soon. Or reminding a guest they have missed the payment term and should pay the balance now.
Payment created
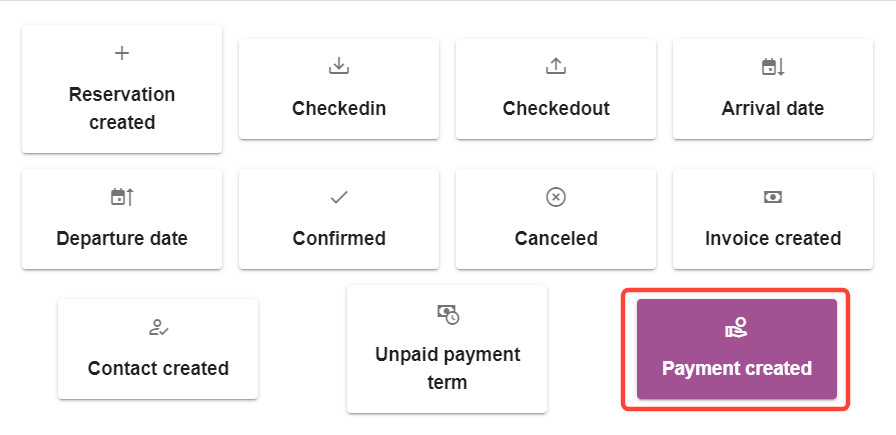
The “Payment created” event happens when a new payment has been made.
A new payment can be created manually by adding a payment in the reservation screen or Point of Sales. New payments are automatically created when a guest pays via the online booking channel or guest page and when a payment is entered into the system via any other channel.
A new invoice can also be created manually, by selecting “new invoice” in the reservation screen or adding a new invoice in the Invoice menu.
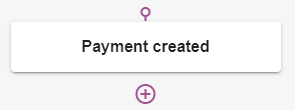
Like “Reservation created”, a delay timer or condition can be added to change when an email is sent. This workflow is ideal to confirm to guests you have received their payment.