-
Backoffice / PMS
-
- What are iCal feeds? And what can I do with them.
- How to set up products under accommodations
- Cancellations
- Setting period conditions
- Accommodations overview
- Add new accommodation
- Adding Prices / Rates to an accommodation
- Discounts
- Taxes
- Options
- Places / Rooms / Objects
- Accommodation settings
- How to set up an accommodation?
-
- How can I work with report lists?
- How do I change the next invoice number?
- Delay invoice finalization.
- How do i send PDF or UBL invoices to your Accountancy System automatically?
- Direct payment links
- Ledgers
- Invoice branding for e-mails
- How does the invoice screen looks like
- What is the difference between concept and final invoices?
- How do I add a product to the invoice?
- How to finalize an invoice?
- How do I print the final invoice?
-
- How can I work with report lists?
- How can guest information be overwritten?
- How does the Scan Document work?
- Adding guests
- Form setup
- Guests settings
- How to send an email to the guest manually
- How do i modify the informations of the guest?
- How do guest languages work?
- How do custom fields work?
- How to Create and Use a Blocked Guest List
-
- How can I work with report lists?
- Copy a reservation.
- How can guest information be overwritten?
- How does the Scan Document work?
- Price calculation error codes
- Cancellations
- Remove a reservation from a group booking
- Form setup
- Combine two bookings
- Add a existing booking to a group booking
- Add a new booking to a group
- Split a booking
- Remove a period within a booking
- Add days to a booking
- Cancellation of a booking in a group
- How to add a payment to a reservation
- How to add or change a place / room / object in a reservation
- Traveller info
- How do I change the place of a reservation?
- How to add a payment to a reservation?
- How to send an email to the guest manually
- How do I change the communication language for a reservation?
- How do i modify the informations of the guest?
- Create a new reservation (Backend)
- How do I export reservation data to excel?
- Can I save my custom reservations list?
- How do cancellations work?
- What kind of reservation statuses are there?
- How do I change the status of a booking?
- How do I make a reservation?
- How do custom fields work?
- How to Create and Use a Blocked Guest List
- Show Remaining Articles ( 17 ) Collapse Articles
-
- What are iCal feeds? And what can I do with them.
- Balances
- How do I change the next invoice number?
- VAT Groups
- Online Booking Settings
- Workflows
- How do I enable the BETA Features?
- How do I prevent emails to be marked as Spam?
- How to setup two factor authentication (2FA)
- How do I set up a Kiosk?
- Special dates
- Form setup
- E-mails
- Discount cards
- Interactive map settings
- Fields
- Ledgers
- Invoice branding for e-mails
- Users
- Form setup
- Roles
- Providers & methods
- Online Booking Settings
- Website Integration
- Invoice settings
- License Plates
- Administration images
- Tags
- Guests settings
- How do age tables work?
- How do guest languages work?
- How do I login with my SSO account?
- Branding
- How do custom fields work?
- Show Remaining Articles ( 19 ) Collapse Articles
-
-
Online booking
-
App Store / Integrations
-
- Articles coming soon
-
Point of Sale (POS)
-
Self Service Kiosk
-
Hardware
-
Support
-
Subscriptions
Originally written in English, any translations errors should be checked against the original atricle
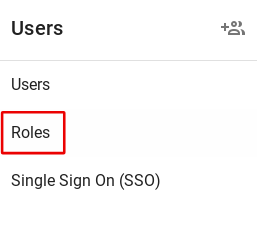
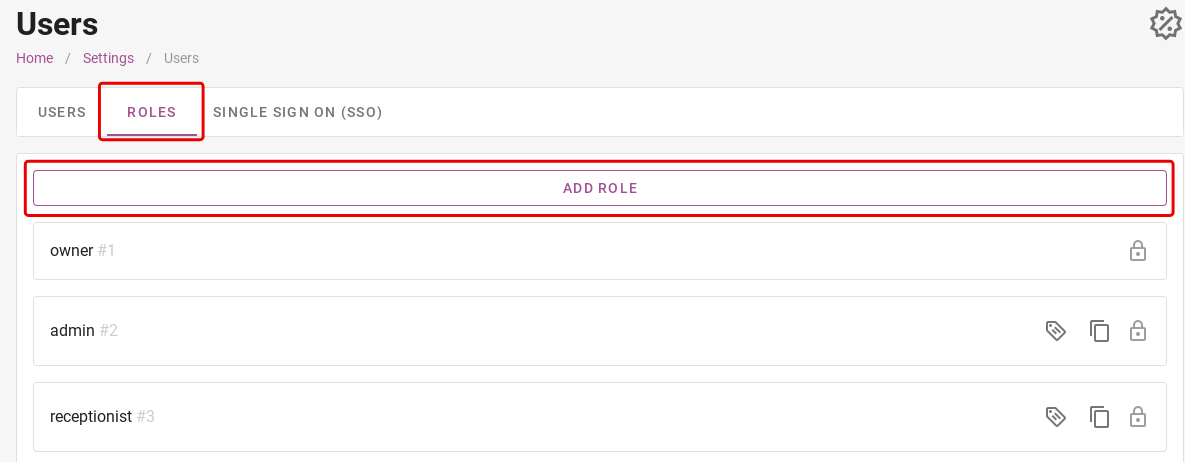
You will see a list of all the current roles that are in the system. To add an additional role, click the purple “Add role” button.
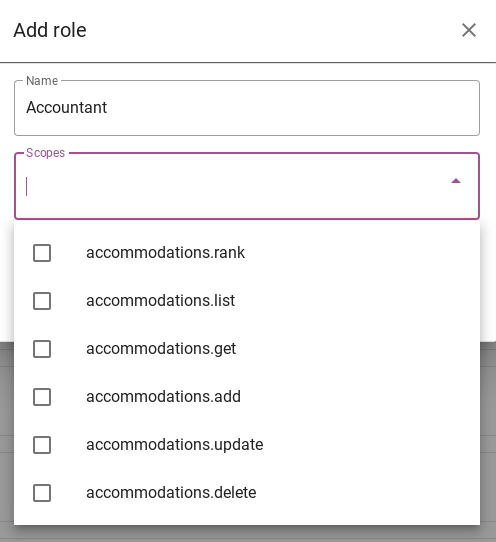
Then you give the role a name and determine which scopes this role is entitled to. In the image below we have chosen to create the role as accountant.
Once the role is created, there are several icons on the right-hand side that allow you to make changes:
- Price tag icon (claims): You can set roles / claims in your directory (Microsoft Azure AD or Google Workspace AD) and connect them to our roles. Ideal for automatic role assigning and logging in into our platform.
- Duplicate role: Allows you to copy this role. An identical role will appear in the list.
- Edit role: Allows you to make changes to the scopes or change the name of the role.
- Bin: removes this role from the system

Lastly, you have the ´Single Sign On (SSO) tab. This is ideal for automatic role assigning and logging in into our platform. For more information about the SSO, click here.
Table of Contents


