How to setup a Tattile Camera
This page shows you how to setup the Tattile Basic MK 2 camera and connect it to our Cloud Connector.
Requirements:
- Camping Care Cloud Connector
- Tattile Camera Basic MK 2 (with Stark software )
Important: This is not a manual for configuring the camera setup, but only concerns the part related to connecting the Cloud Connector.
Connecting
The first step is to connect to the camera. Open a web browser on your device and go to the IP address of the camera.
| Parameter | Default value |
|---|---|
| IP address | 192.168.0.21 |
| Netmask | 255.255.0.0 |
| Username | superuser |
| Password | superuser |
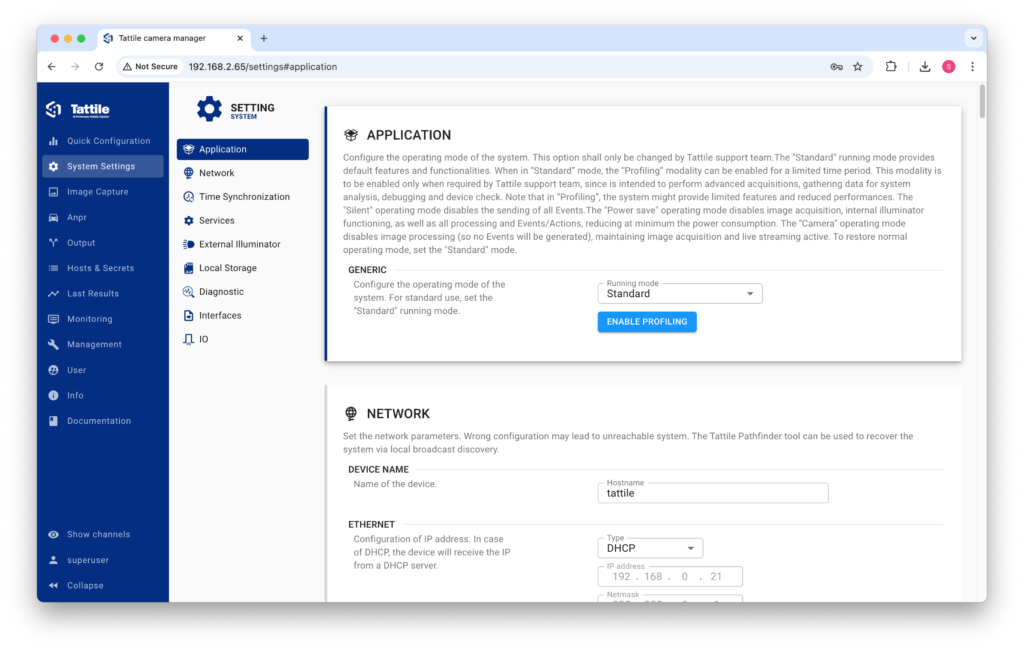
Login with your username and password, now you will see this:
Configuration
The camera needs to be configured with hosts, messages, actions and events. This section will cover how to setup all these things.
Hosts
In your camera settings navigate to ‘Hosts & Secrets’ > ‘Hosts’ and click on the ‘Add’ button in the top right corner. Now add your host properties:
– Alias: Name this Cloud Connector (but can be any value).
– Hostname: The URL to your specific Cloud Connector, which you can find here.
Now click on ‘Save’ in the top right corner and you’ve successfully added a new host.
Messages
Messages can be found under the ‘Output’ section.
With messages you can control what is send to the Cloud Connector on plate read. You should not have to edit this since the ‘Standard JSON’ message is all what is needed.
Actions
With actions you can specify what happens after a license plate is read. Under the ‘Output’ section go to ‘Actions’ and click on the ‘Add’ button in the top right corner.
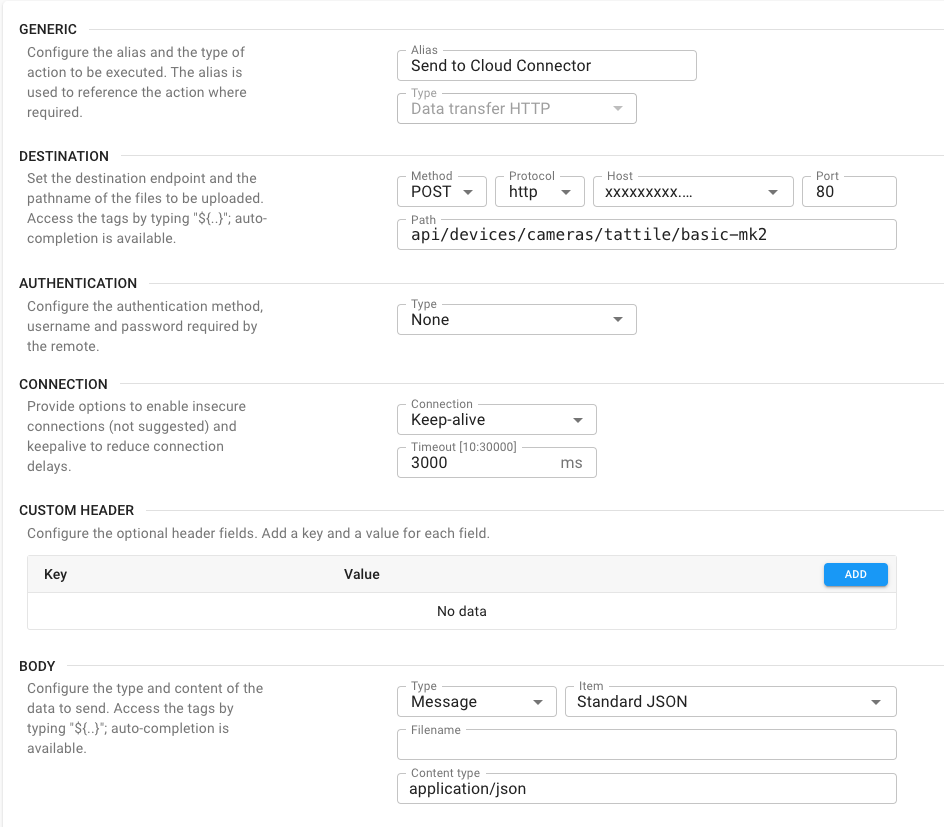
Fill in the settings like described:
- Generic:
- Alias: “Send to Cloud Connector”
- Type: Data transfer HTTP
- Destination:
- Method: POST
- Protocol: https
- Host: Select the host you just created (e.g. Cloud Connector)
- Port: 80
- Path: “api/devices/cameras/tattile/basic-mk2”
- Authentication: Leave default
- Connection: Leave default
- Custom Header: Leave default
- Body:
- Type: Message
- Item: Standard JSON
- Filename: Leave empty
- Content type: application/json
If done correctly it should look like this:
Events
With events you can specify what actions should happen on certain events. Under ‘Output’ go to ‘Events’ and click on the ‘Add’ button in the top right corner.
Fill in the event as descriped:
- Generic:
- Alias: “Read Plate”
- Type: Transit end
- Actions:
- Read below
- Filtering: Leave default
Setting the actions for the event
Make sure the ‘Execute actions in the order set below’ and ‘Break actions chain on error’ are enabled.
This will make sure that if the Cloud Connector cannot find a license plate it stops further actions.
Then click on the blue ‘Add’ button inside the actions table and select the following:
- Action: Send to Cloud Connector
- Fallback action: Leave empty
- Buffering criteria: None
Click on ‘Create’, now an action is tied to this event.
You can add more actions to this event by repeating this step and selecting different previously created actions.
Add the event by pressing the ‘Save’ button in the top right corner.
Important: Events are automatically enabled when created, if you don’t want to immediately trigger events click on the 3 dots to the right of the event name and click ‘Disable’.
Opening a barrier
To connect a barrier to this system you can add another action and connect it to the event:
Create a new action under ‘Output’ > ‘Actions’. Give it a good alias name (e.g. Open barrier) and set the type to ‘Relay output’.
Configure the correct relay output numbers and choose a duration and delay.
Now go to your event (‘Output’ > ‘Events’) and add another action by pressing the ‘Add’ button inside the actions table. Choose the action you just created and click ‘Save’.
Wire the barrier to the cameras relay output. Now when the camera detects a license plate it sends a request to the Cloud Connector to verify this plate. If valid it opens the barrier.